
She danced from stove to countertop, a blur of raven hair and tinkling laughter. With light but deliberate footfalls she moved– a towering sorceress of womanhood, the harbinger of vanilla-scented secrets I would one day have to learn.
And then, all at once, in a great wide-winged swoop, mom swept me up in her arms and held me over the stove, where eggs boiled in deep red water. That water, she explained, would turn the delicate white shells of ordinary chicken's eggs to the fiery reds and golds I'd seen on Easters past.
***
Years and years have trickled by, and Easter has come again. I never got the chance to ask mom exactly how she dyed those eggs, but I've got my own technique now. Credit where credit is due: I grifted the following recipe from the expat parents over at Field Notes from Fatherhood, which you can find here. 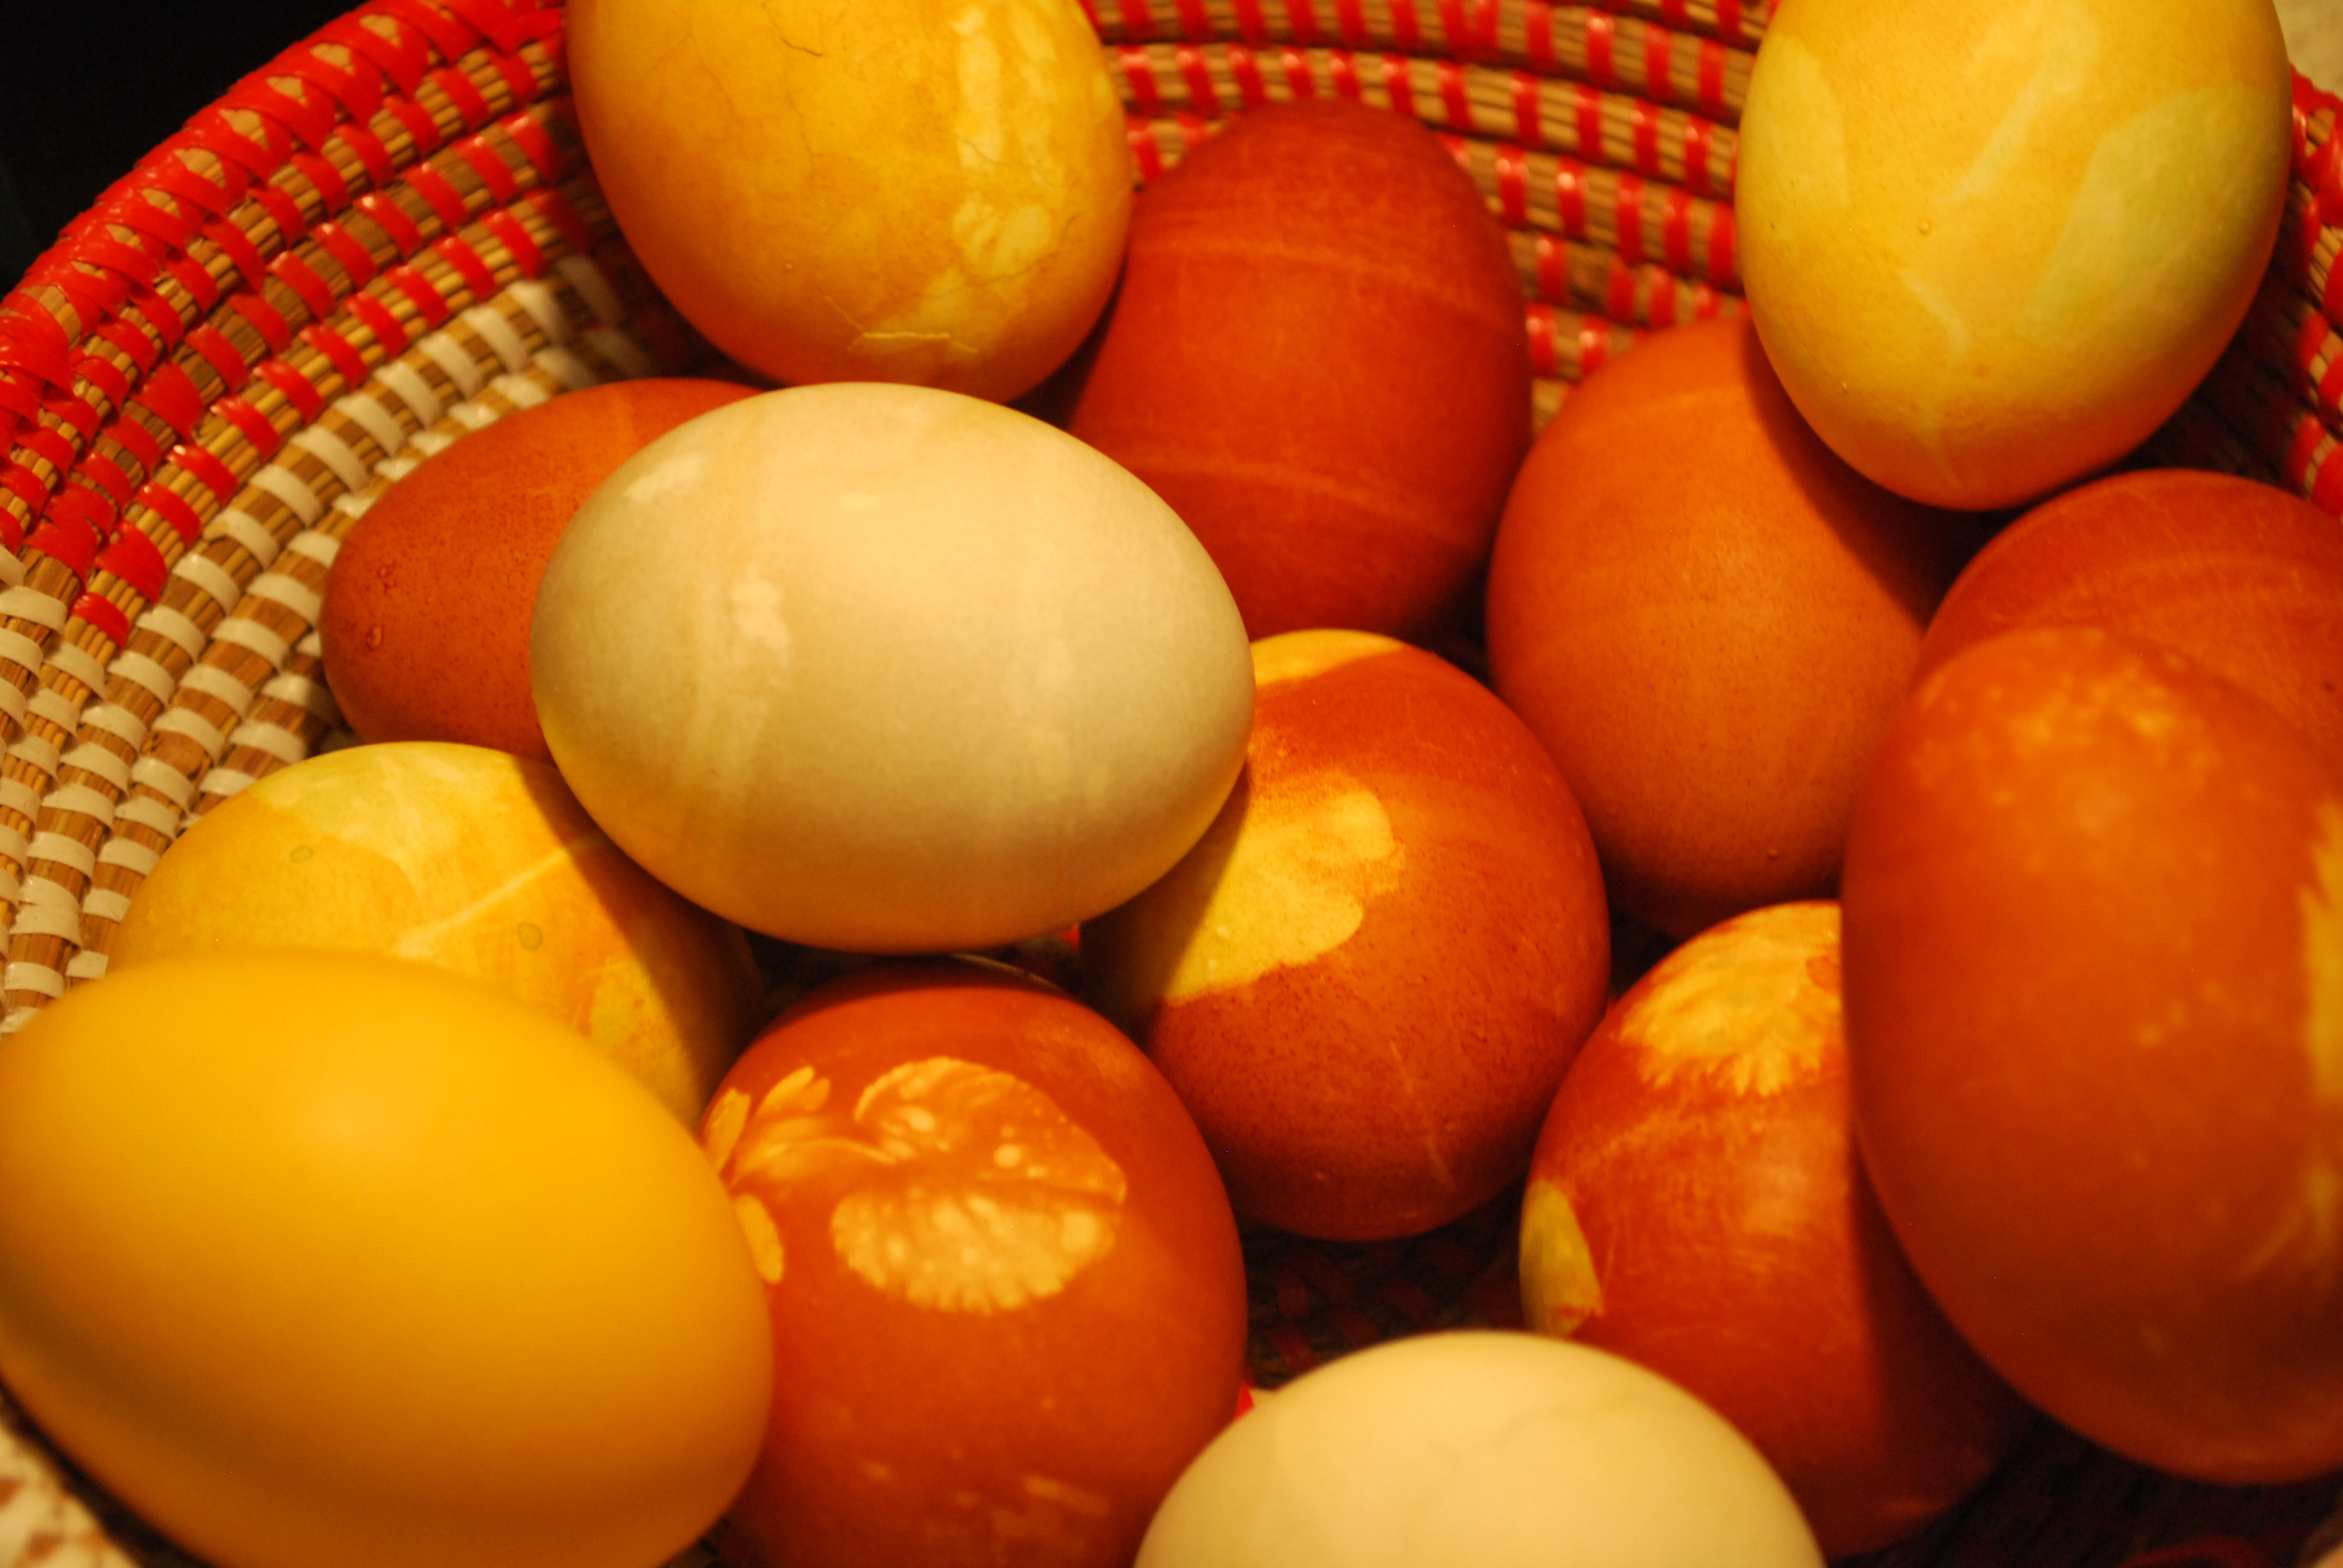
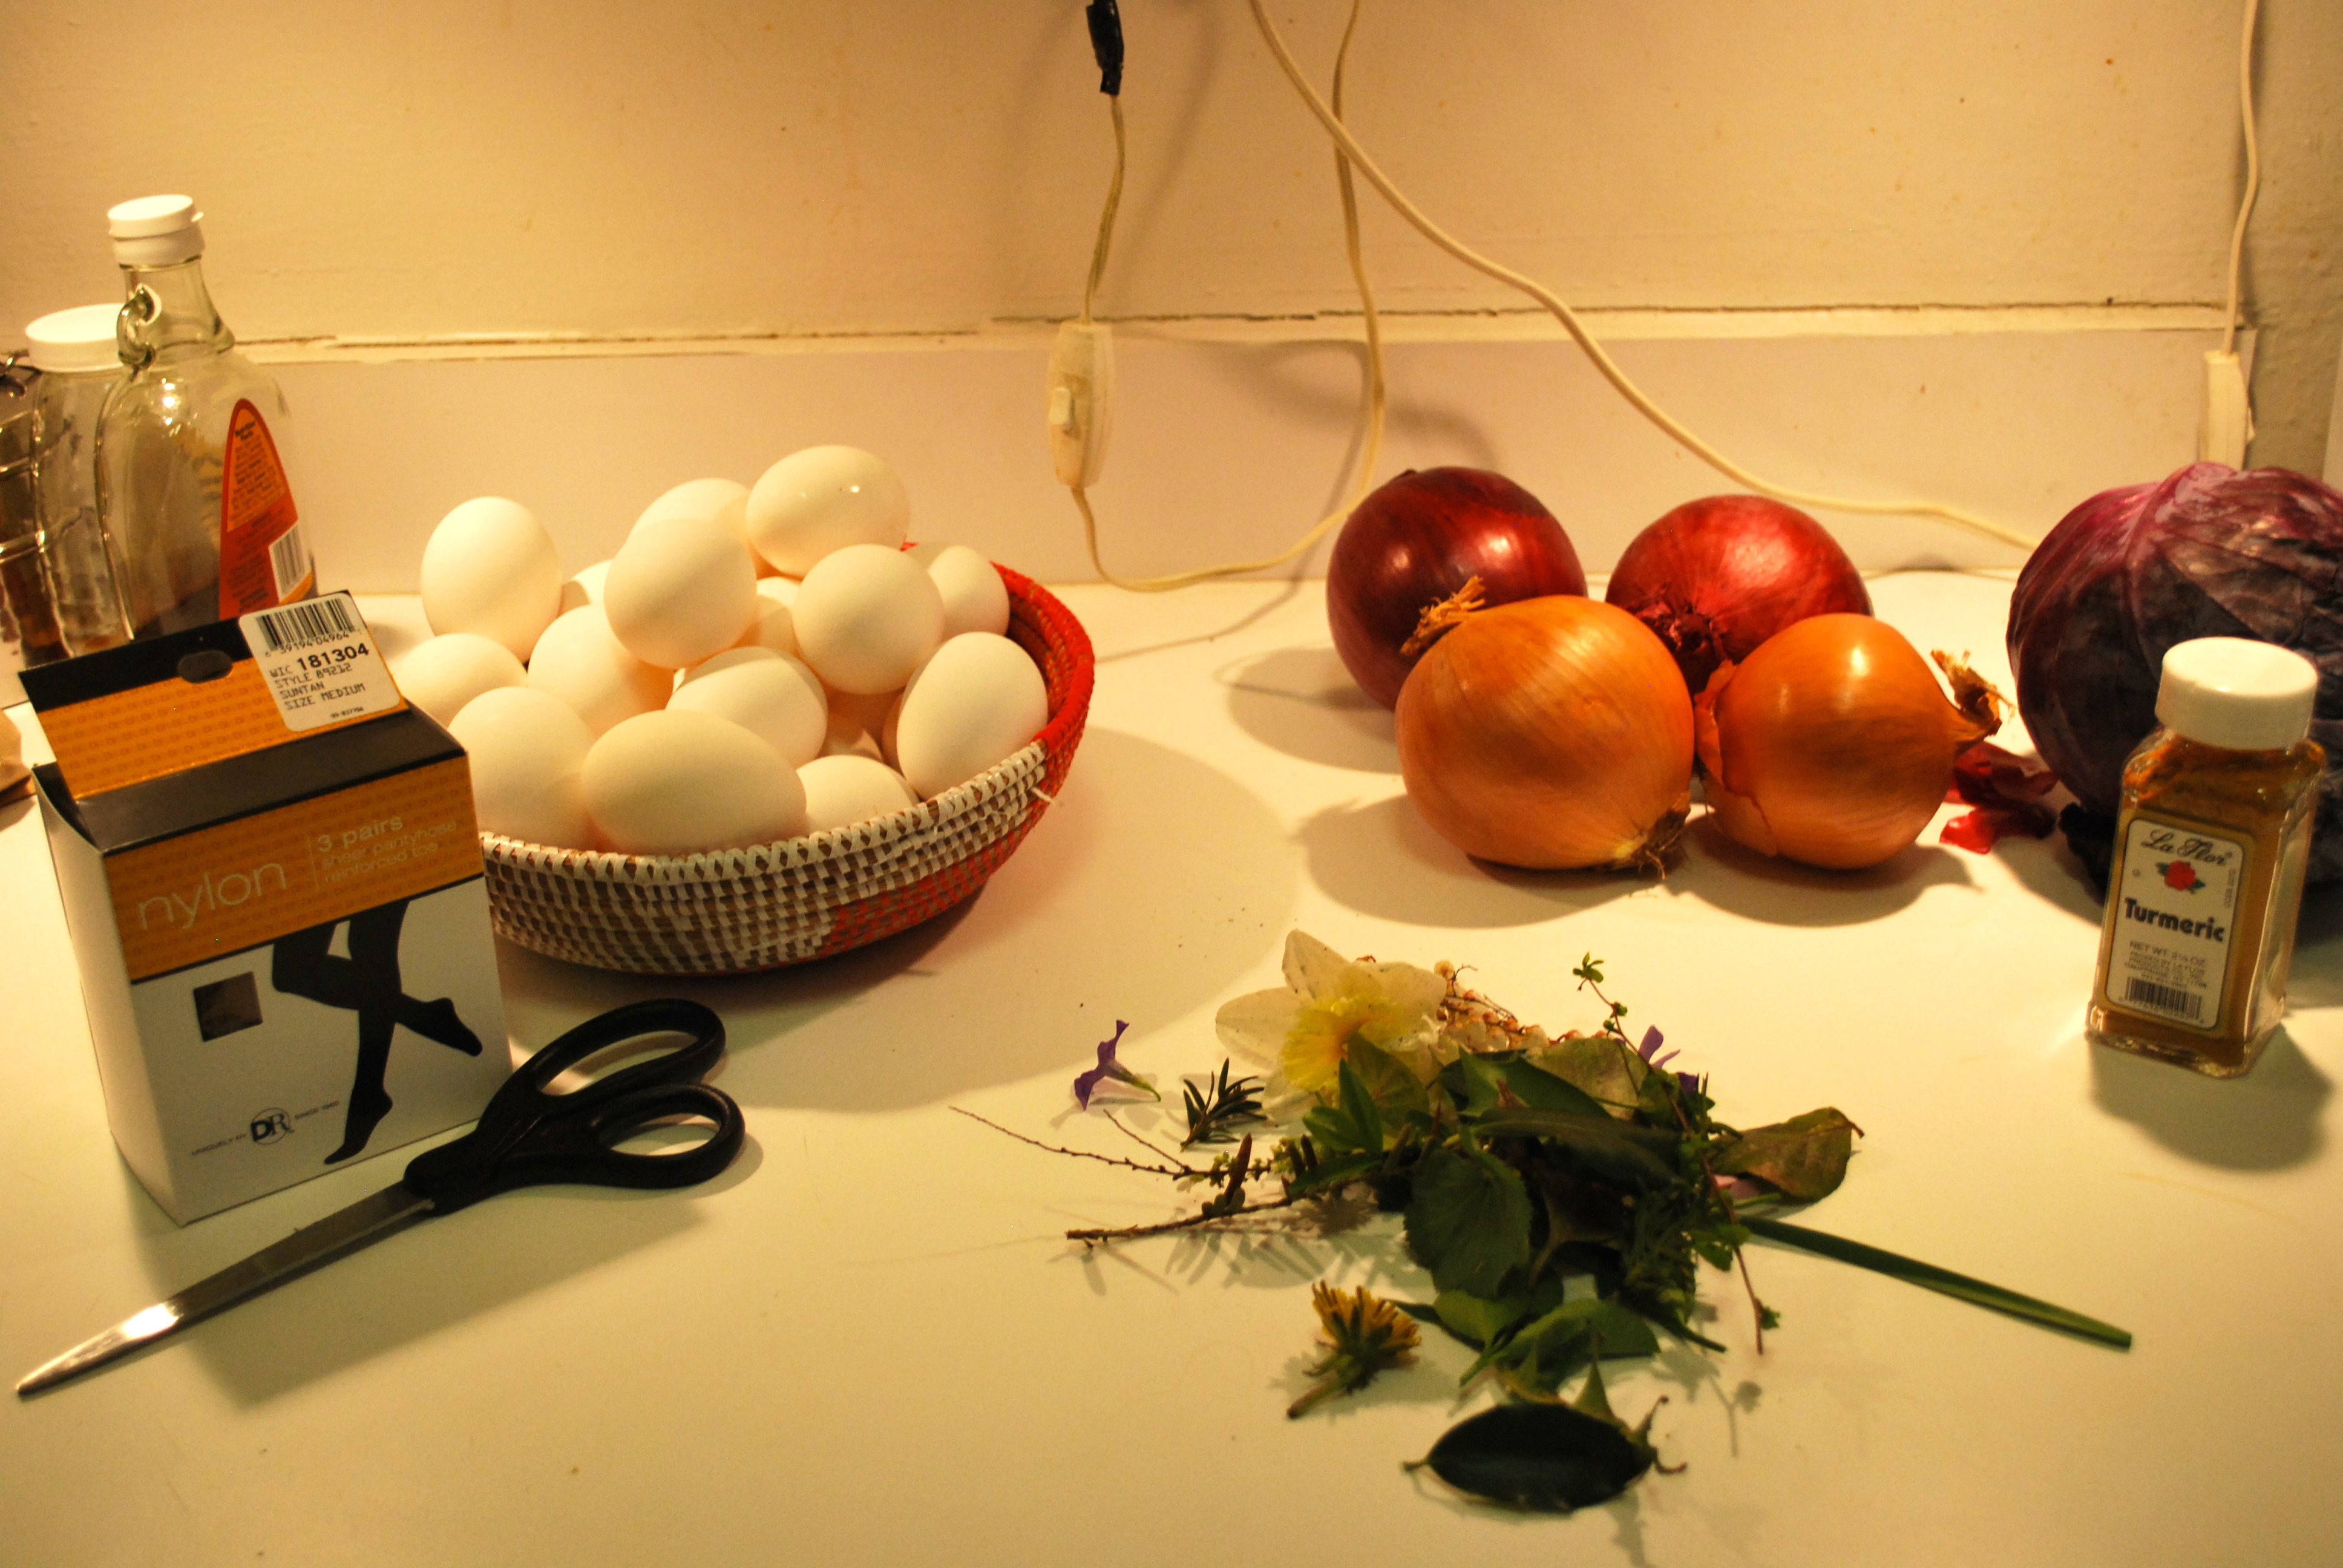
-White-shelled eggs
-Red and Yellow onion skins (to make red dye)
-Red cabbage leaves (to make blue dye)
-Turmeric (to make gold dye)
-Dental floss or string
-Nylon stockings (cut into egg-sized strips)
-An assortment of small leaves and flowers
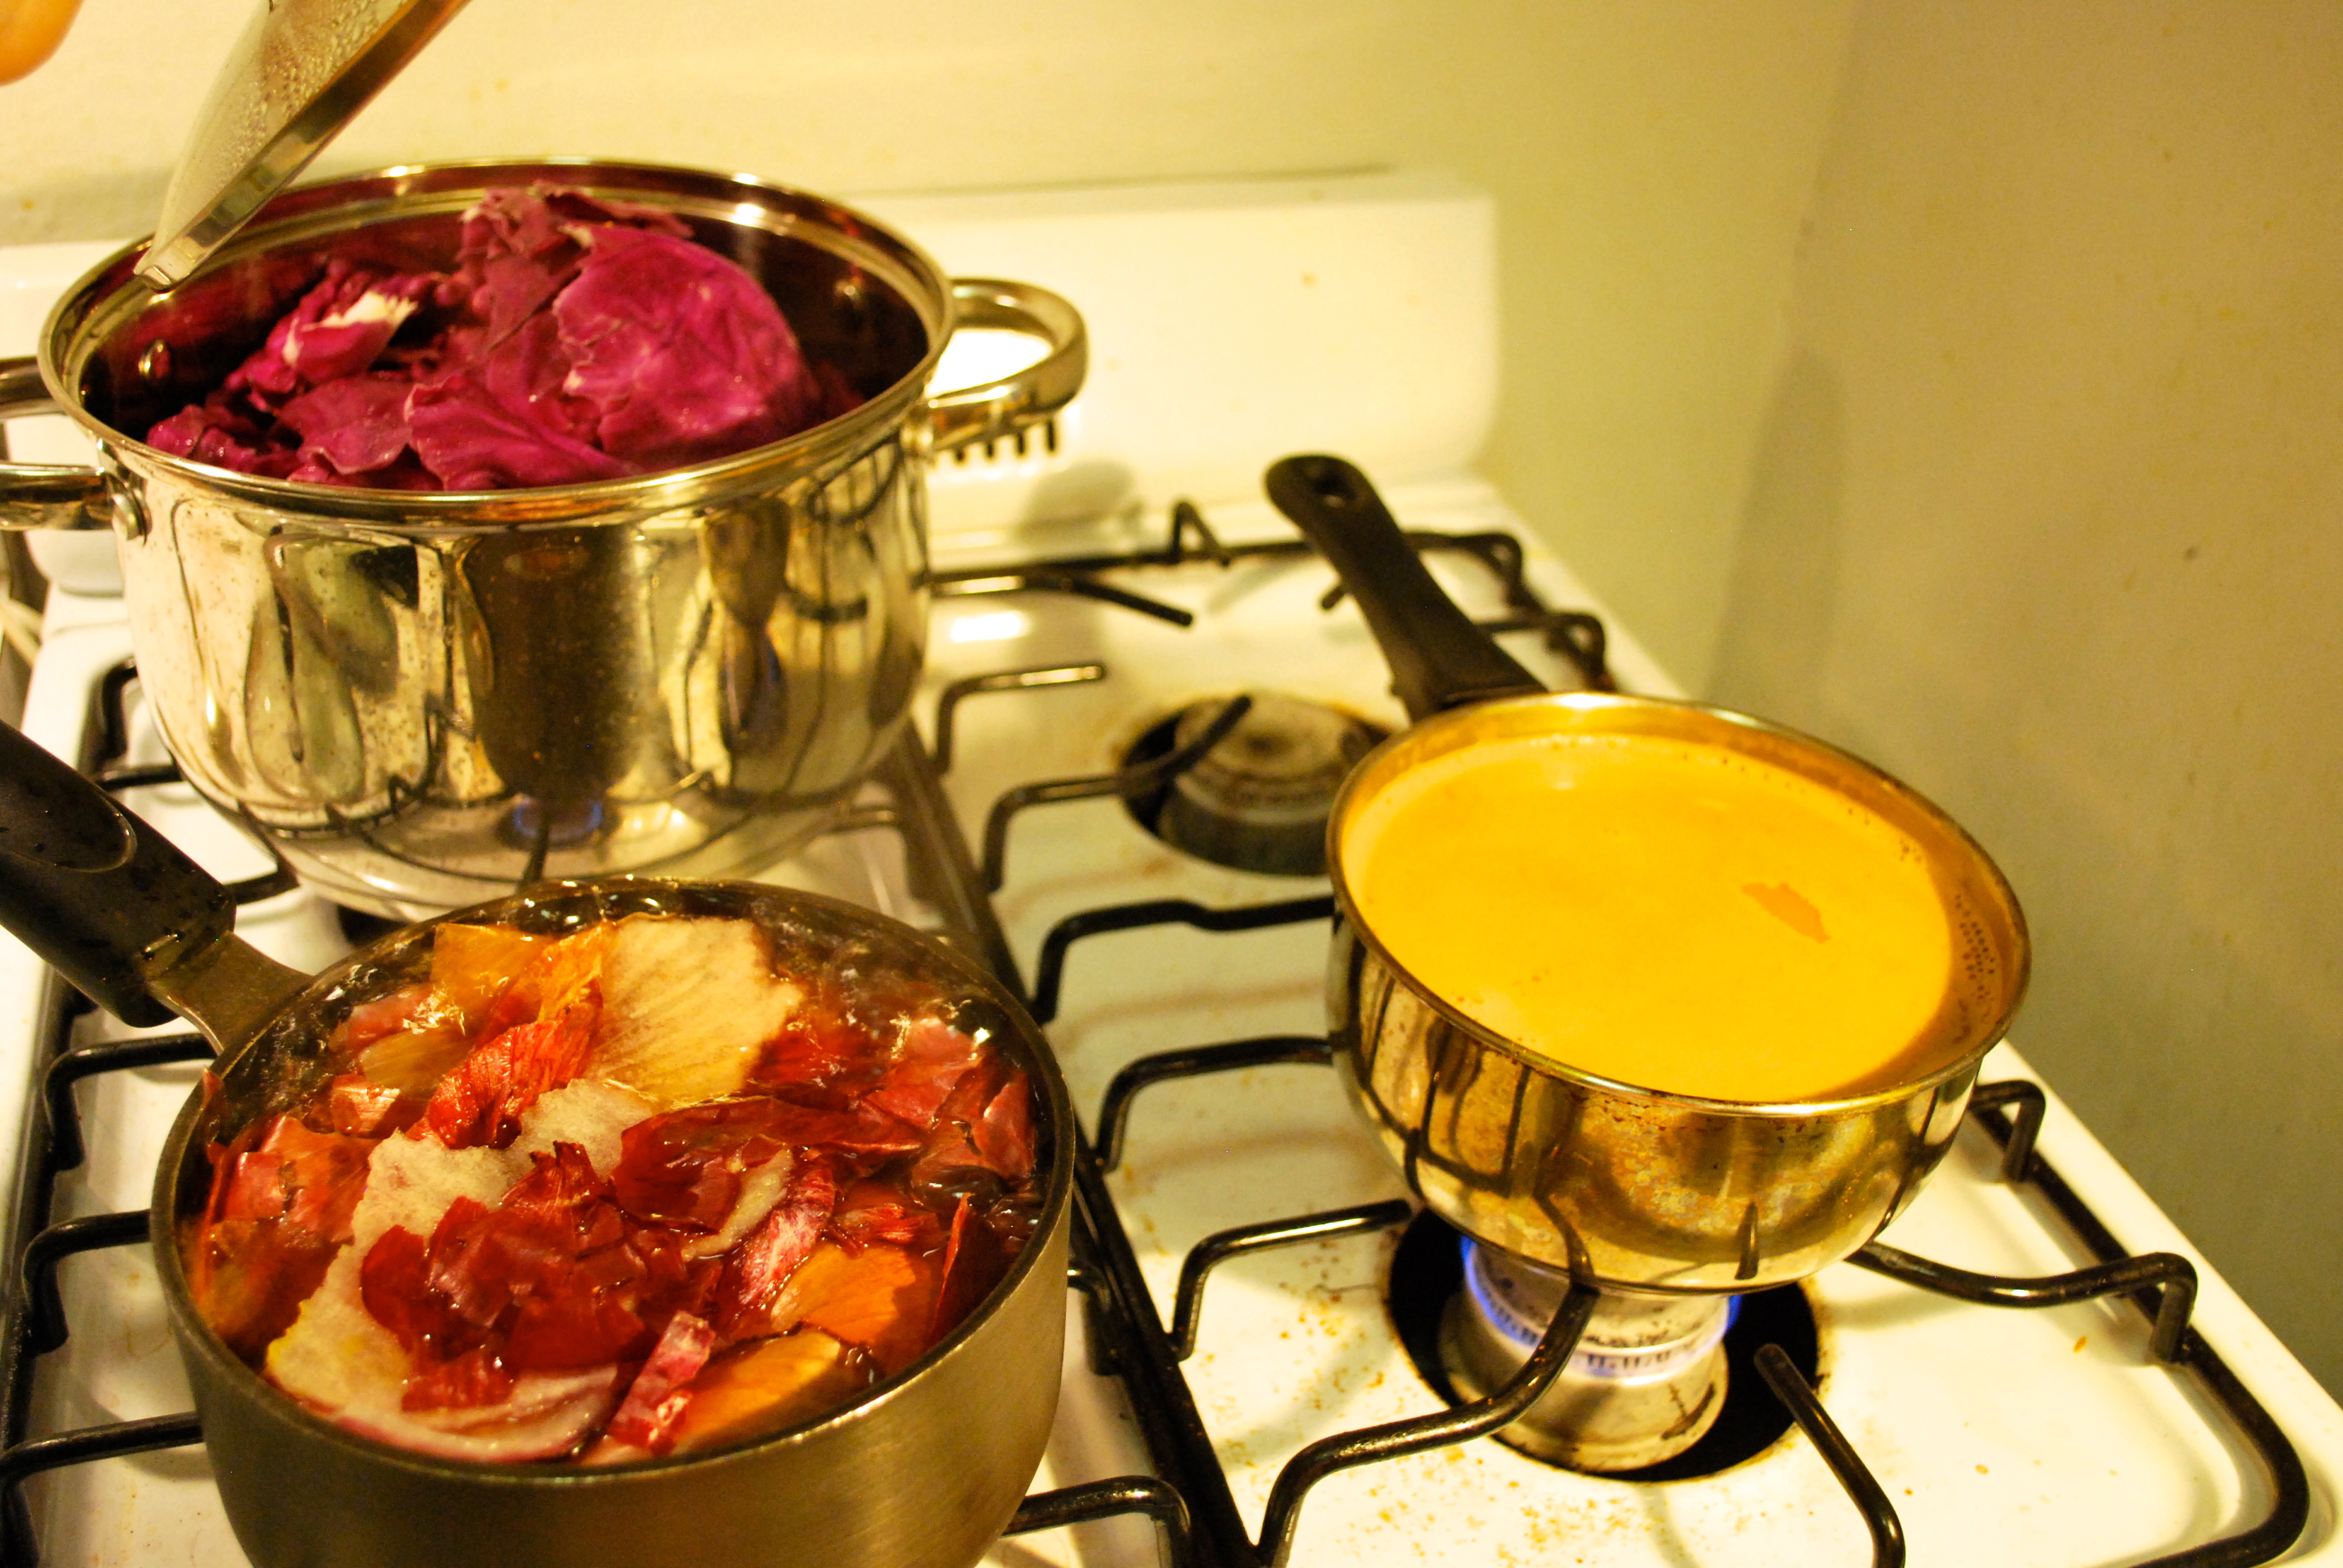
First, prep your dyes:
Place the onion skins, cabbage leaves, and turmeric (I used about 5 generous spoonfuls) in separate sauce pots, cover with water (deep enough to submerge an egg), and set to boil. Leave them on the stove for about 30 minutes (until the water is deeply colored), and then strain out the leaves/skins. Retain the water, that's your dye.
In the meantime, prep your [uncooked] eggs:
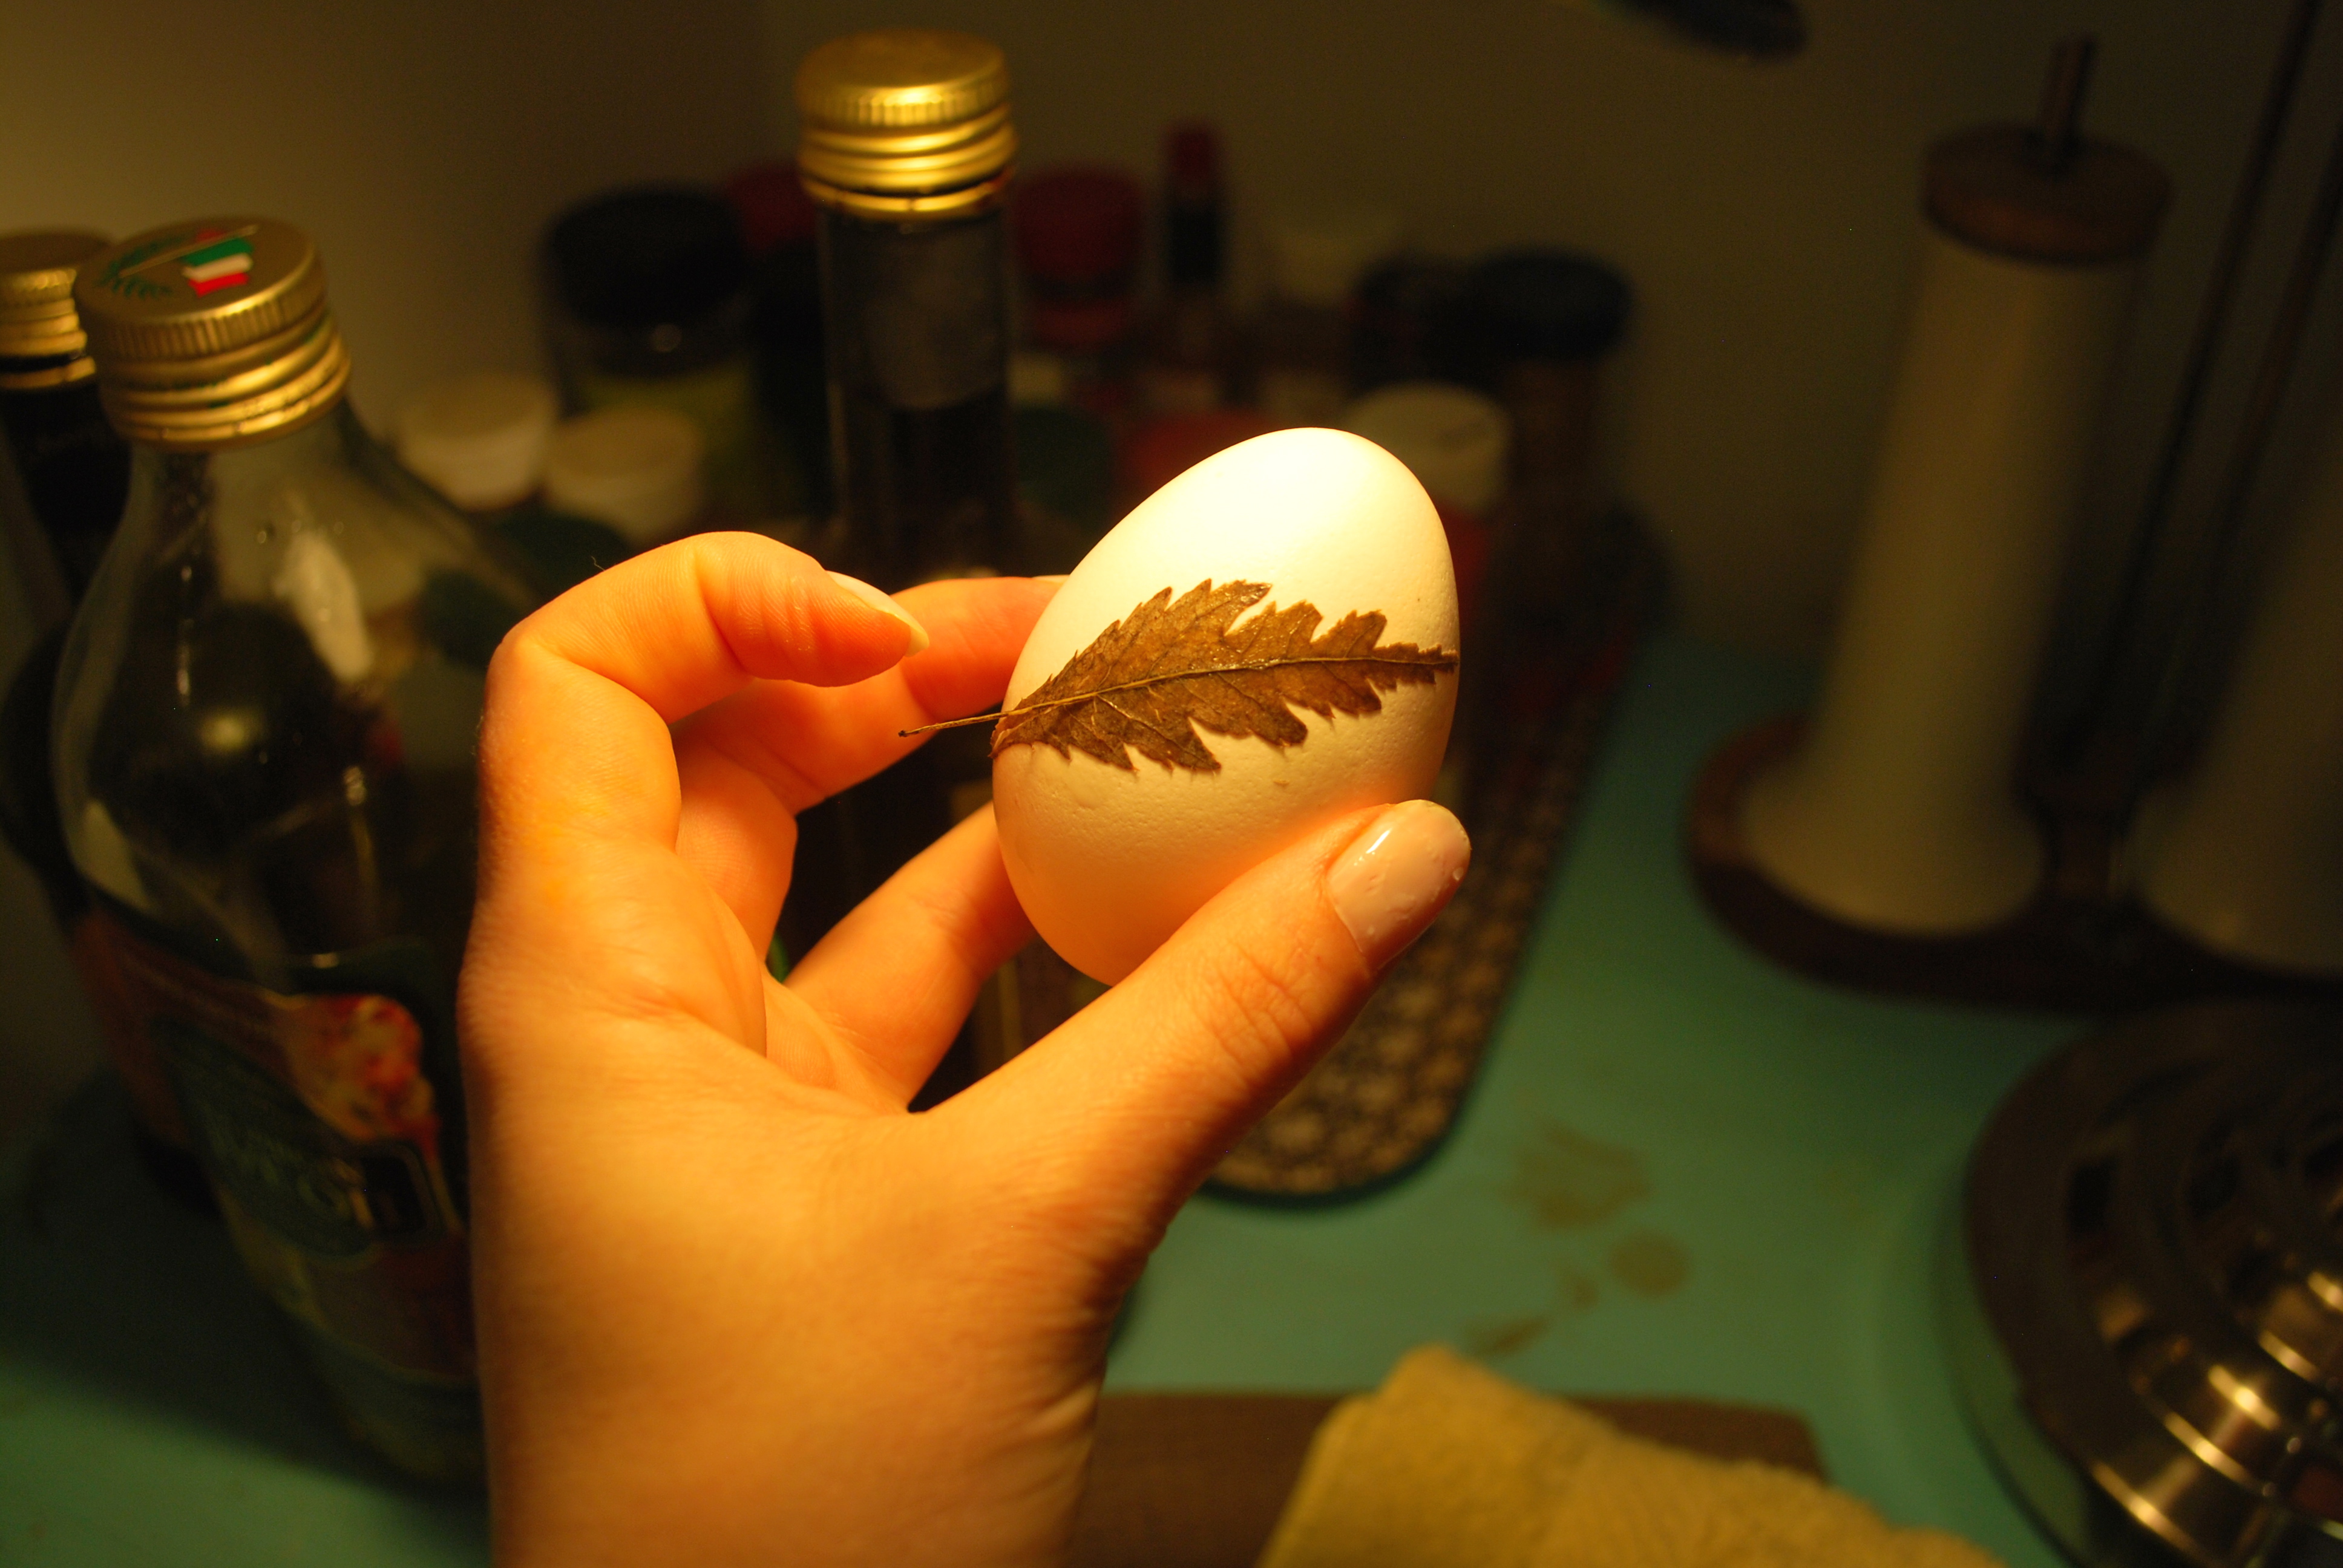
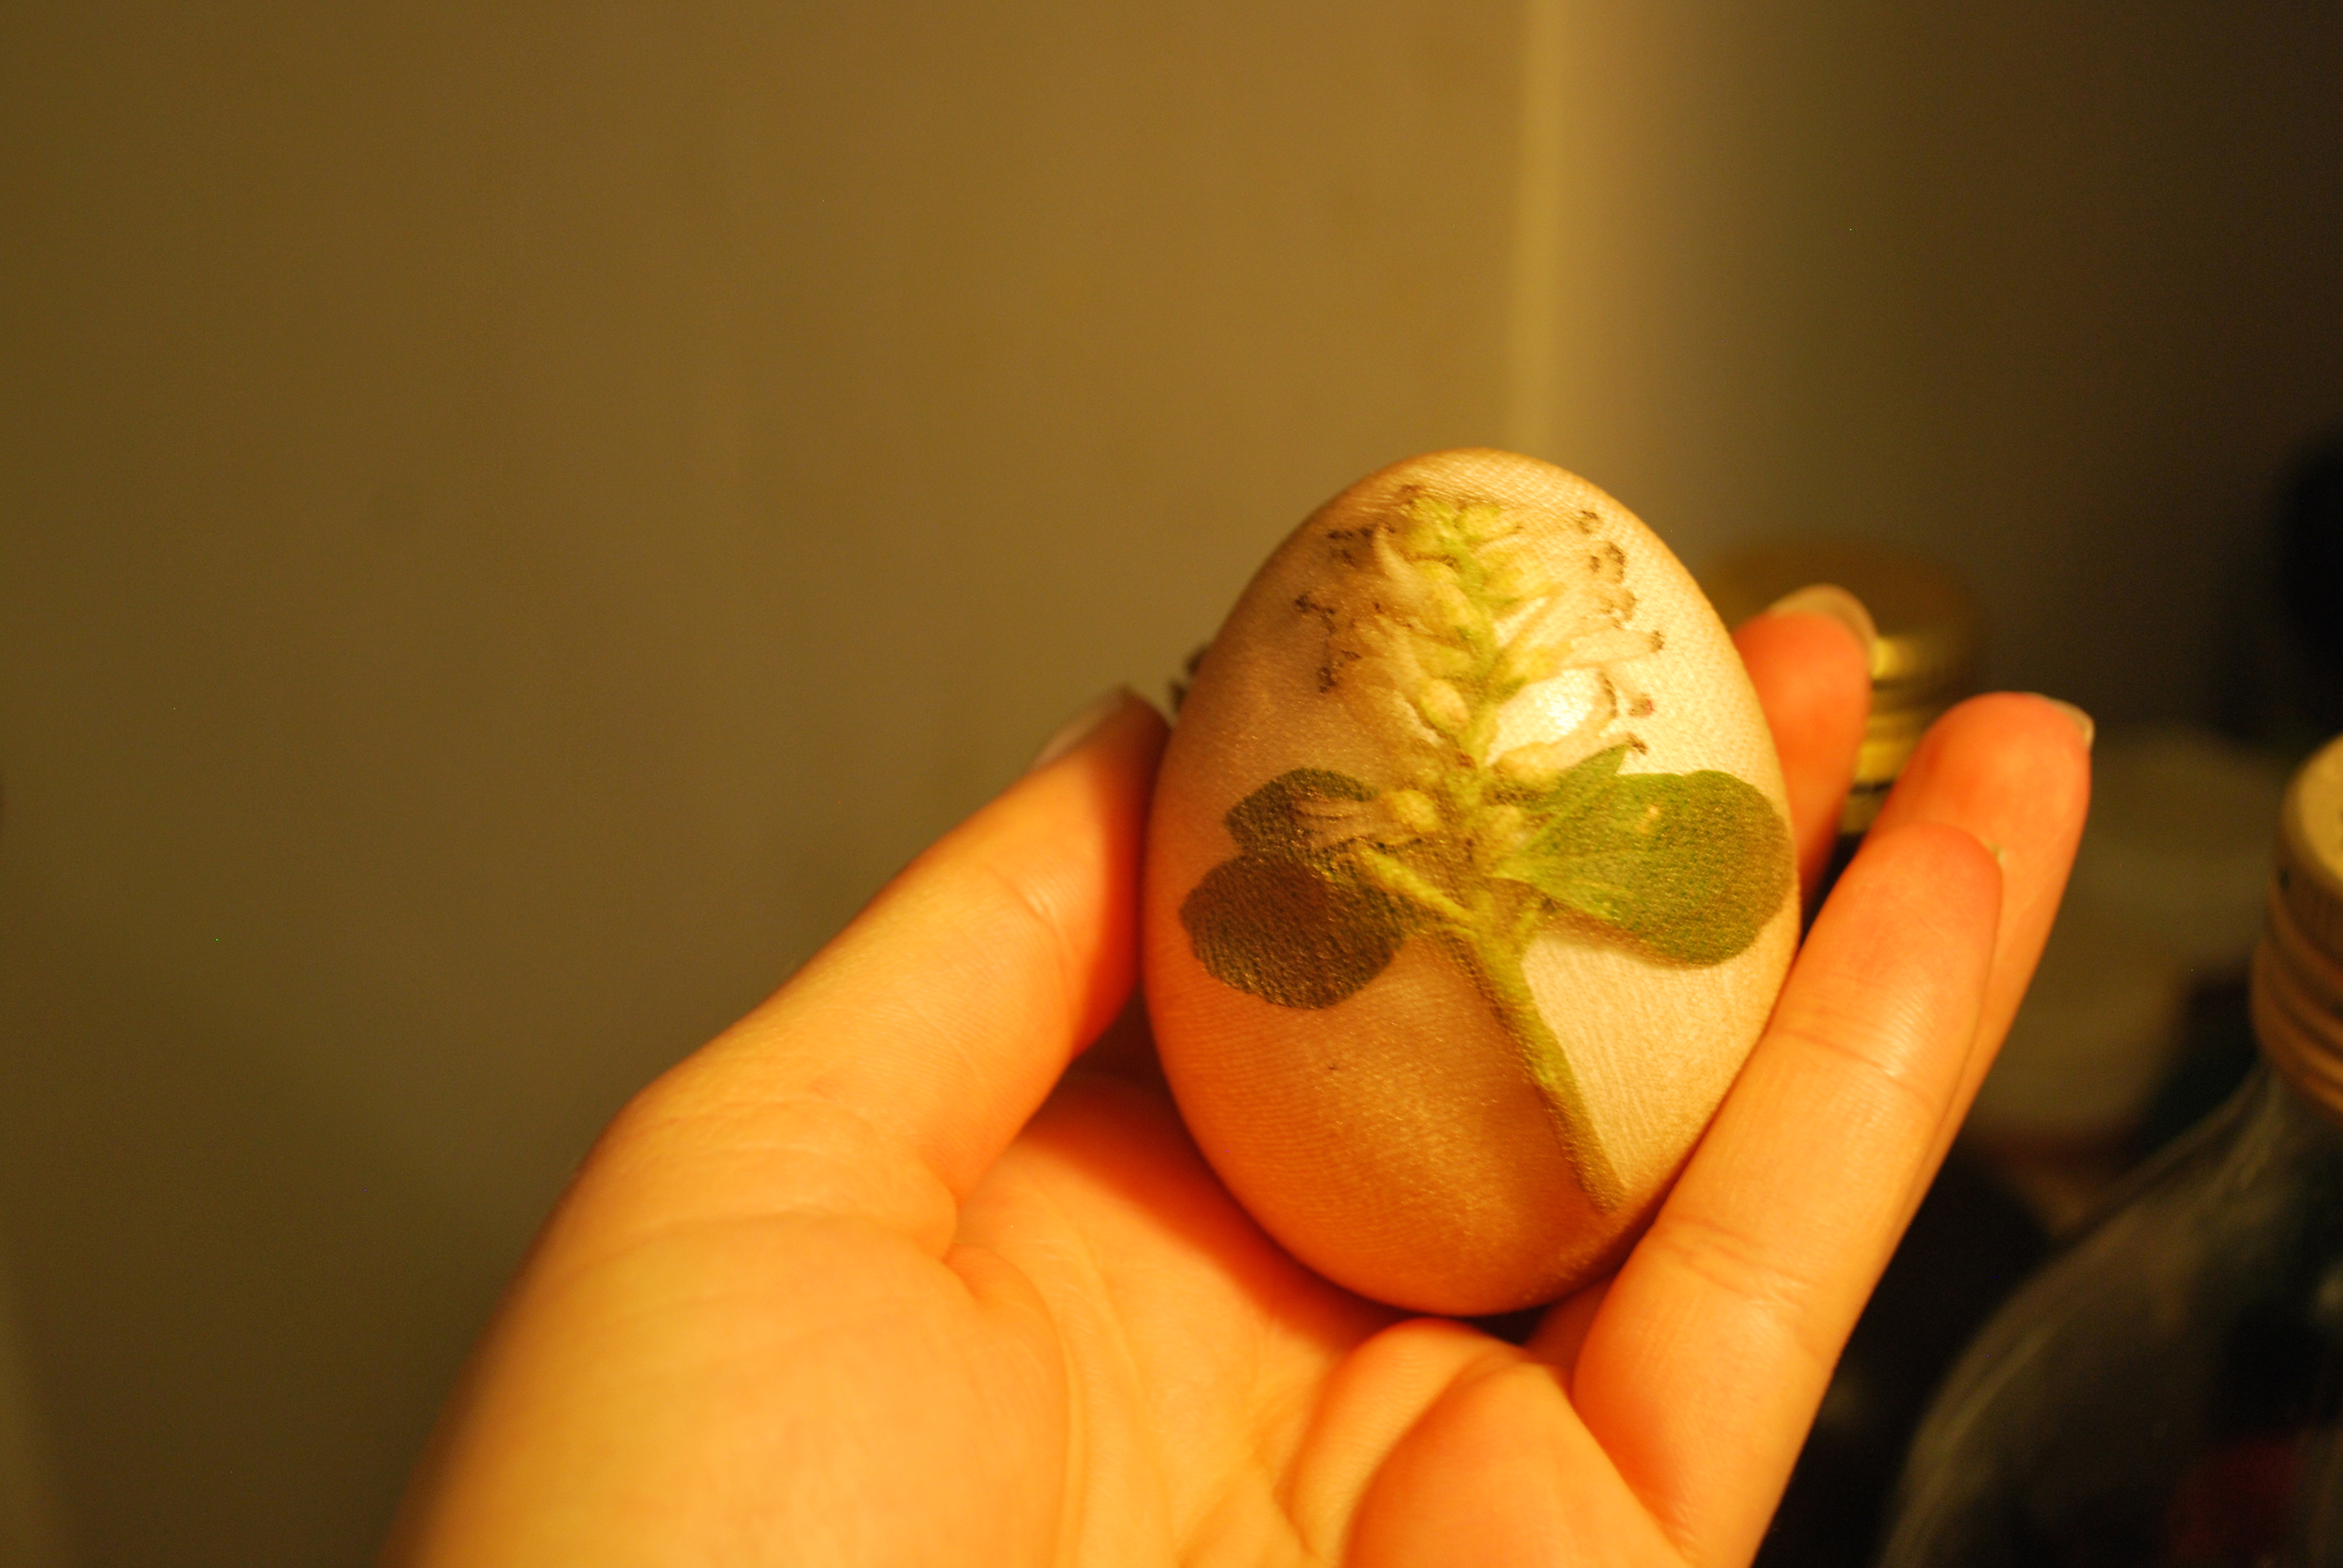
Arrange leaves and petals as you like on the eggshell.
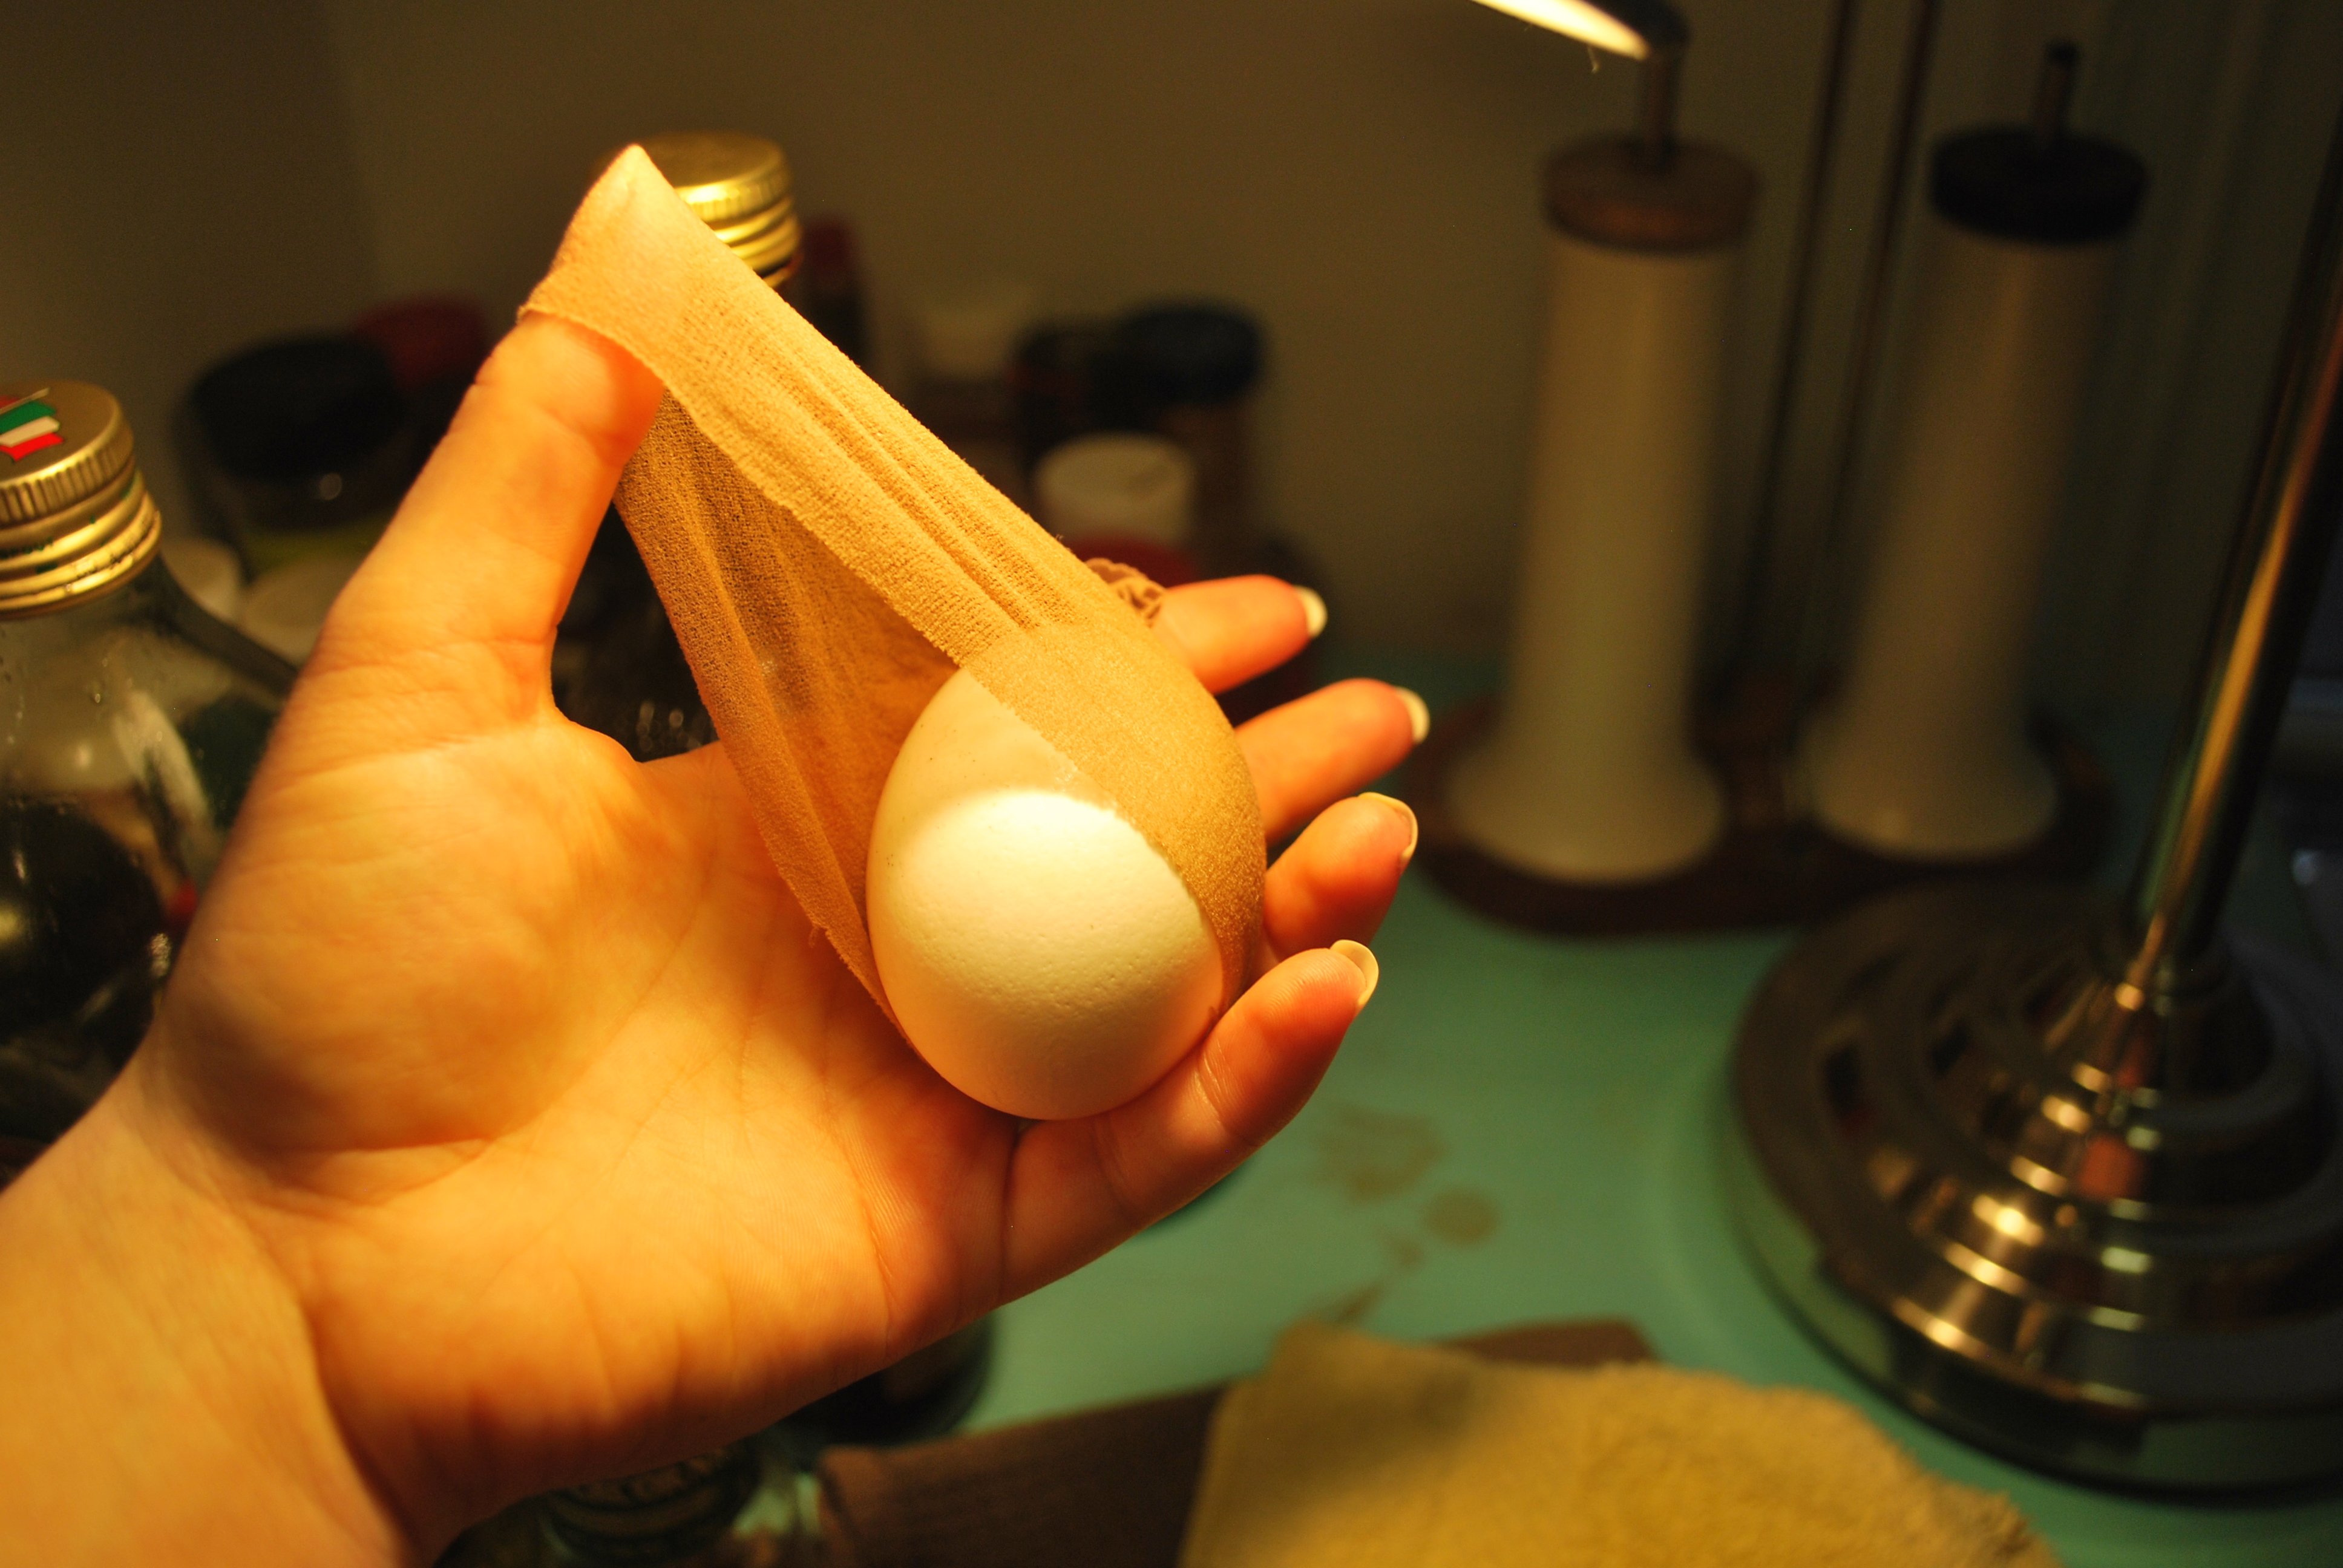
Then pull the nylon tight over the face of the egg. This is most challenging and important step. The nylon must be tight enough to keep any plant material flush with the surface of the egg.
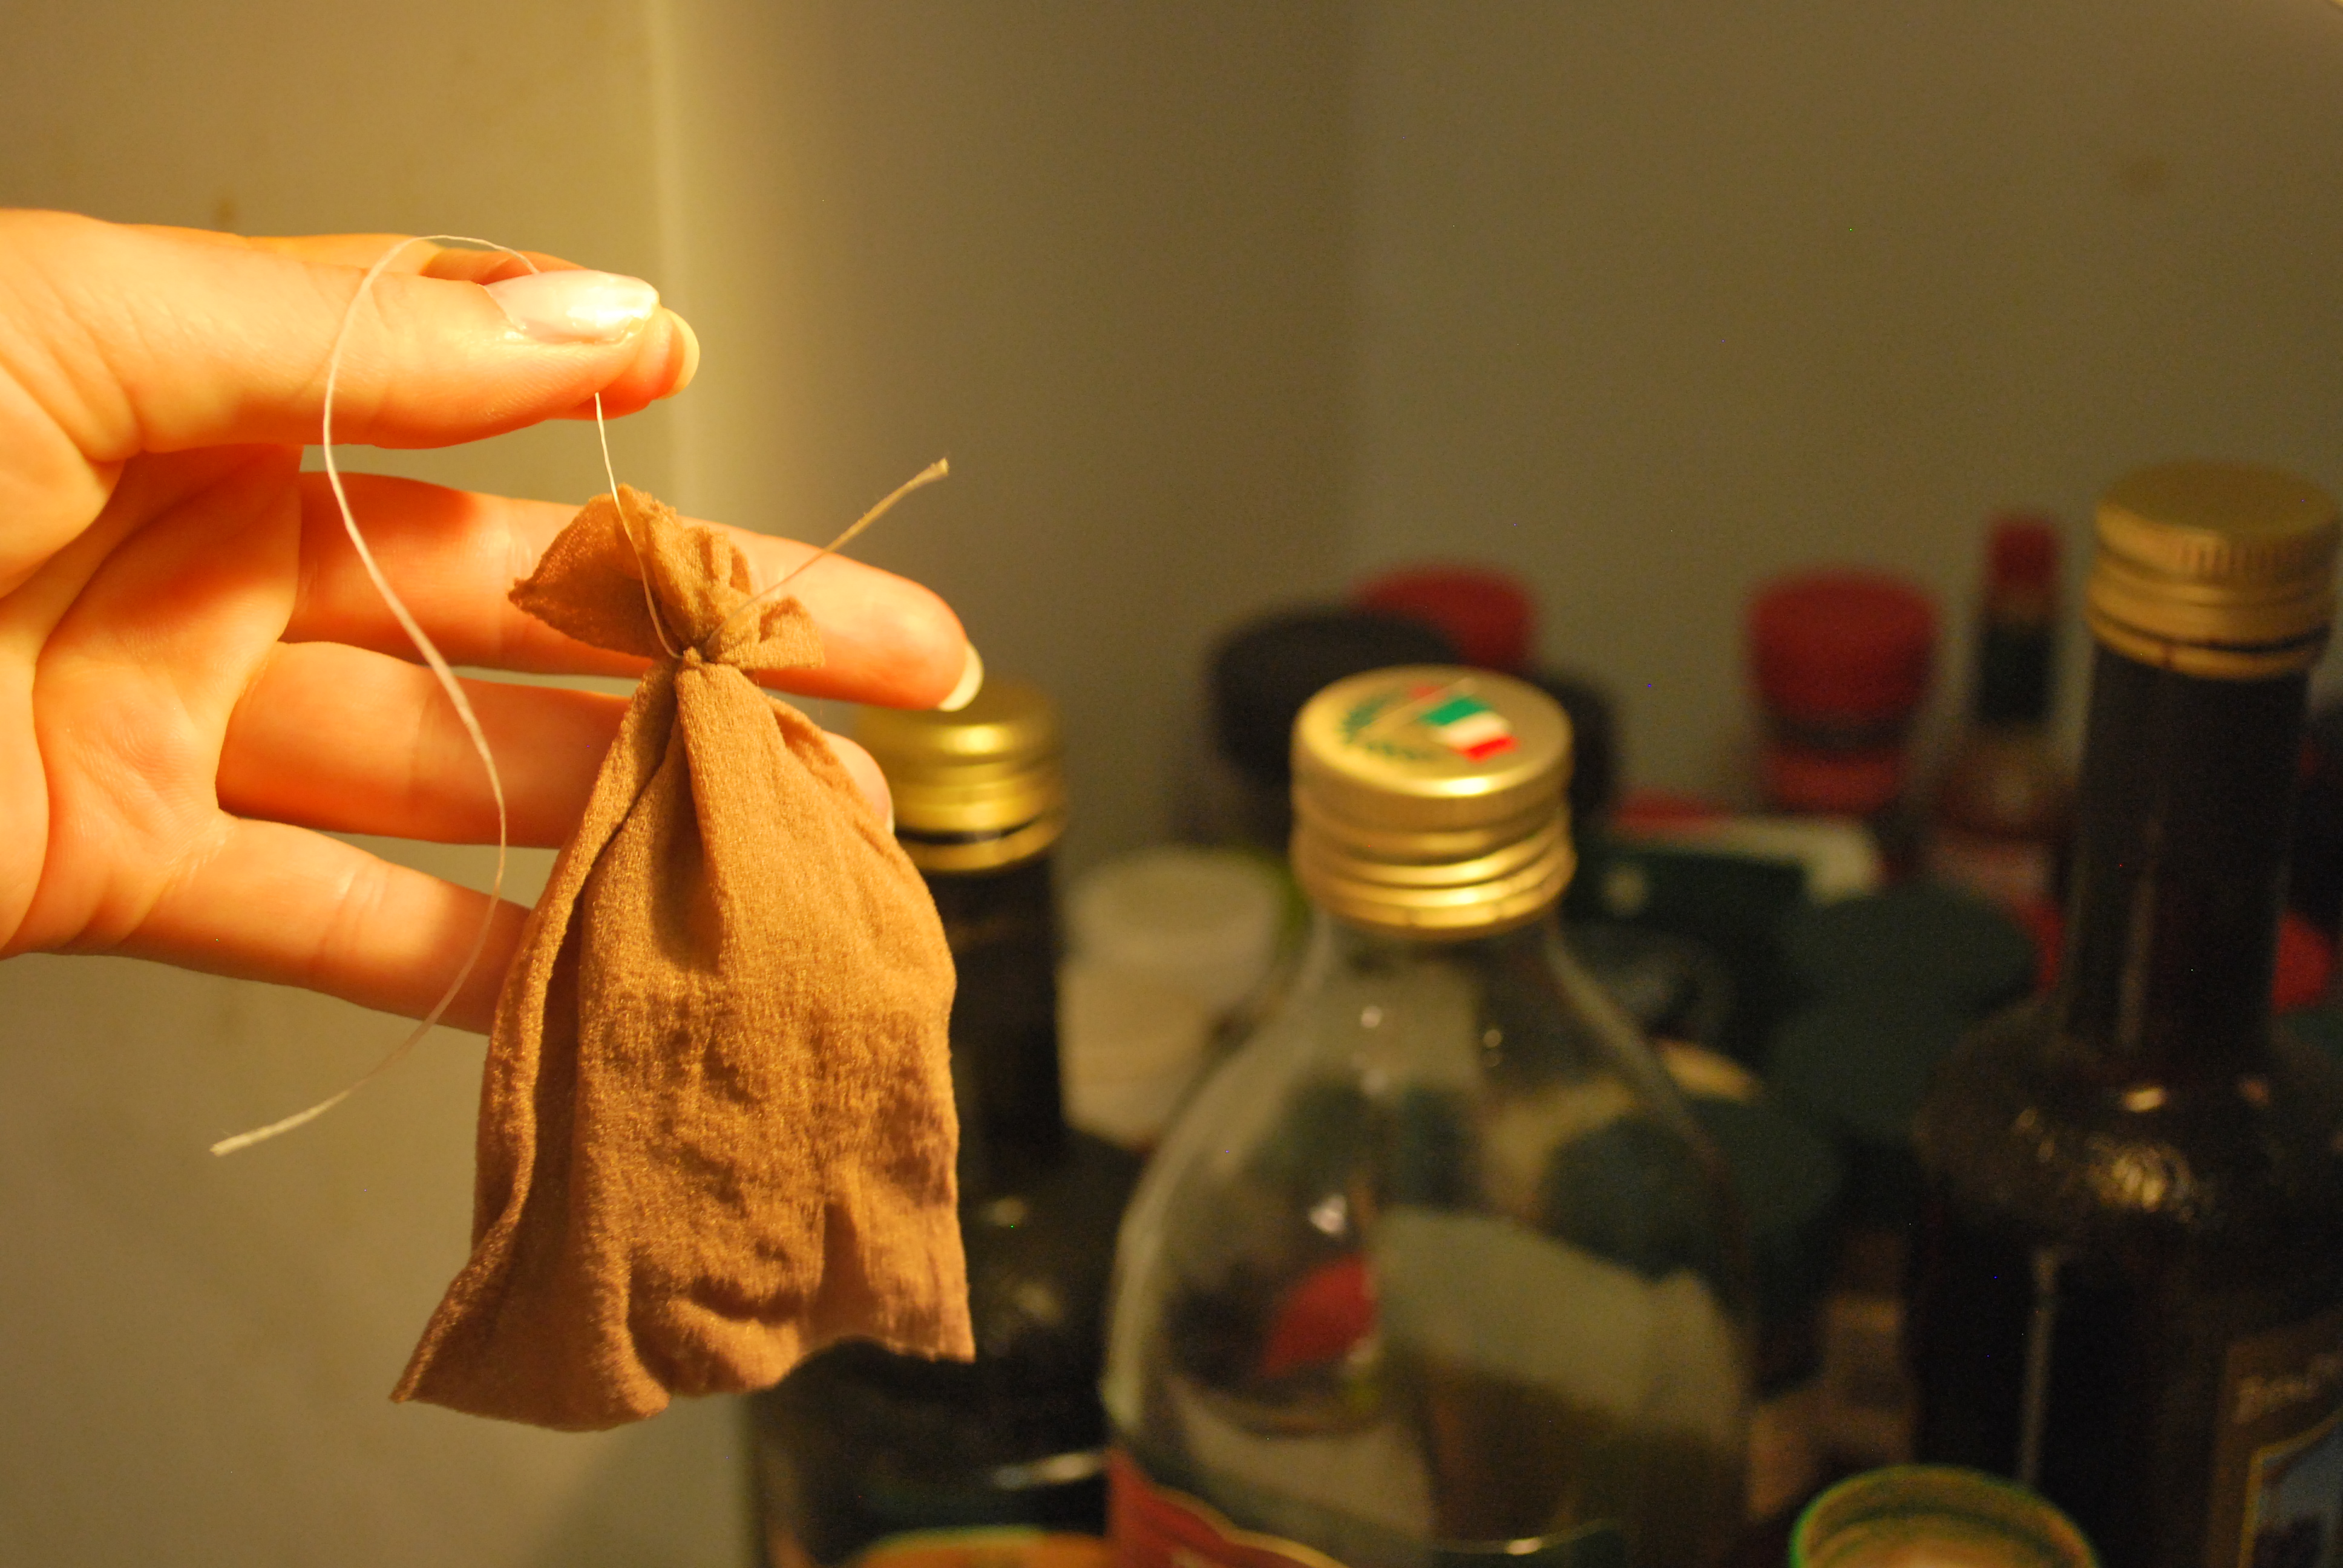
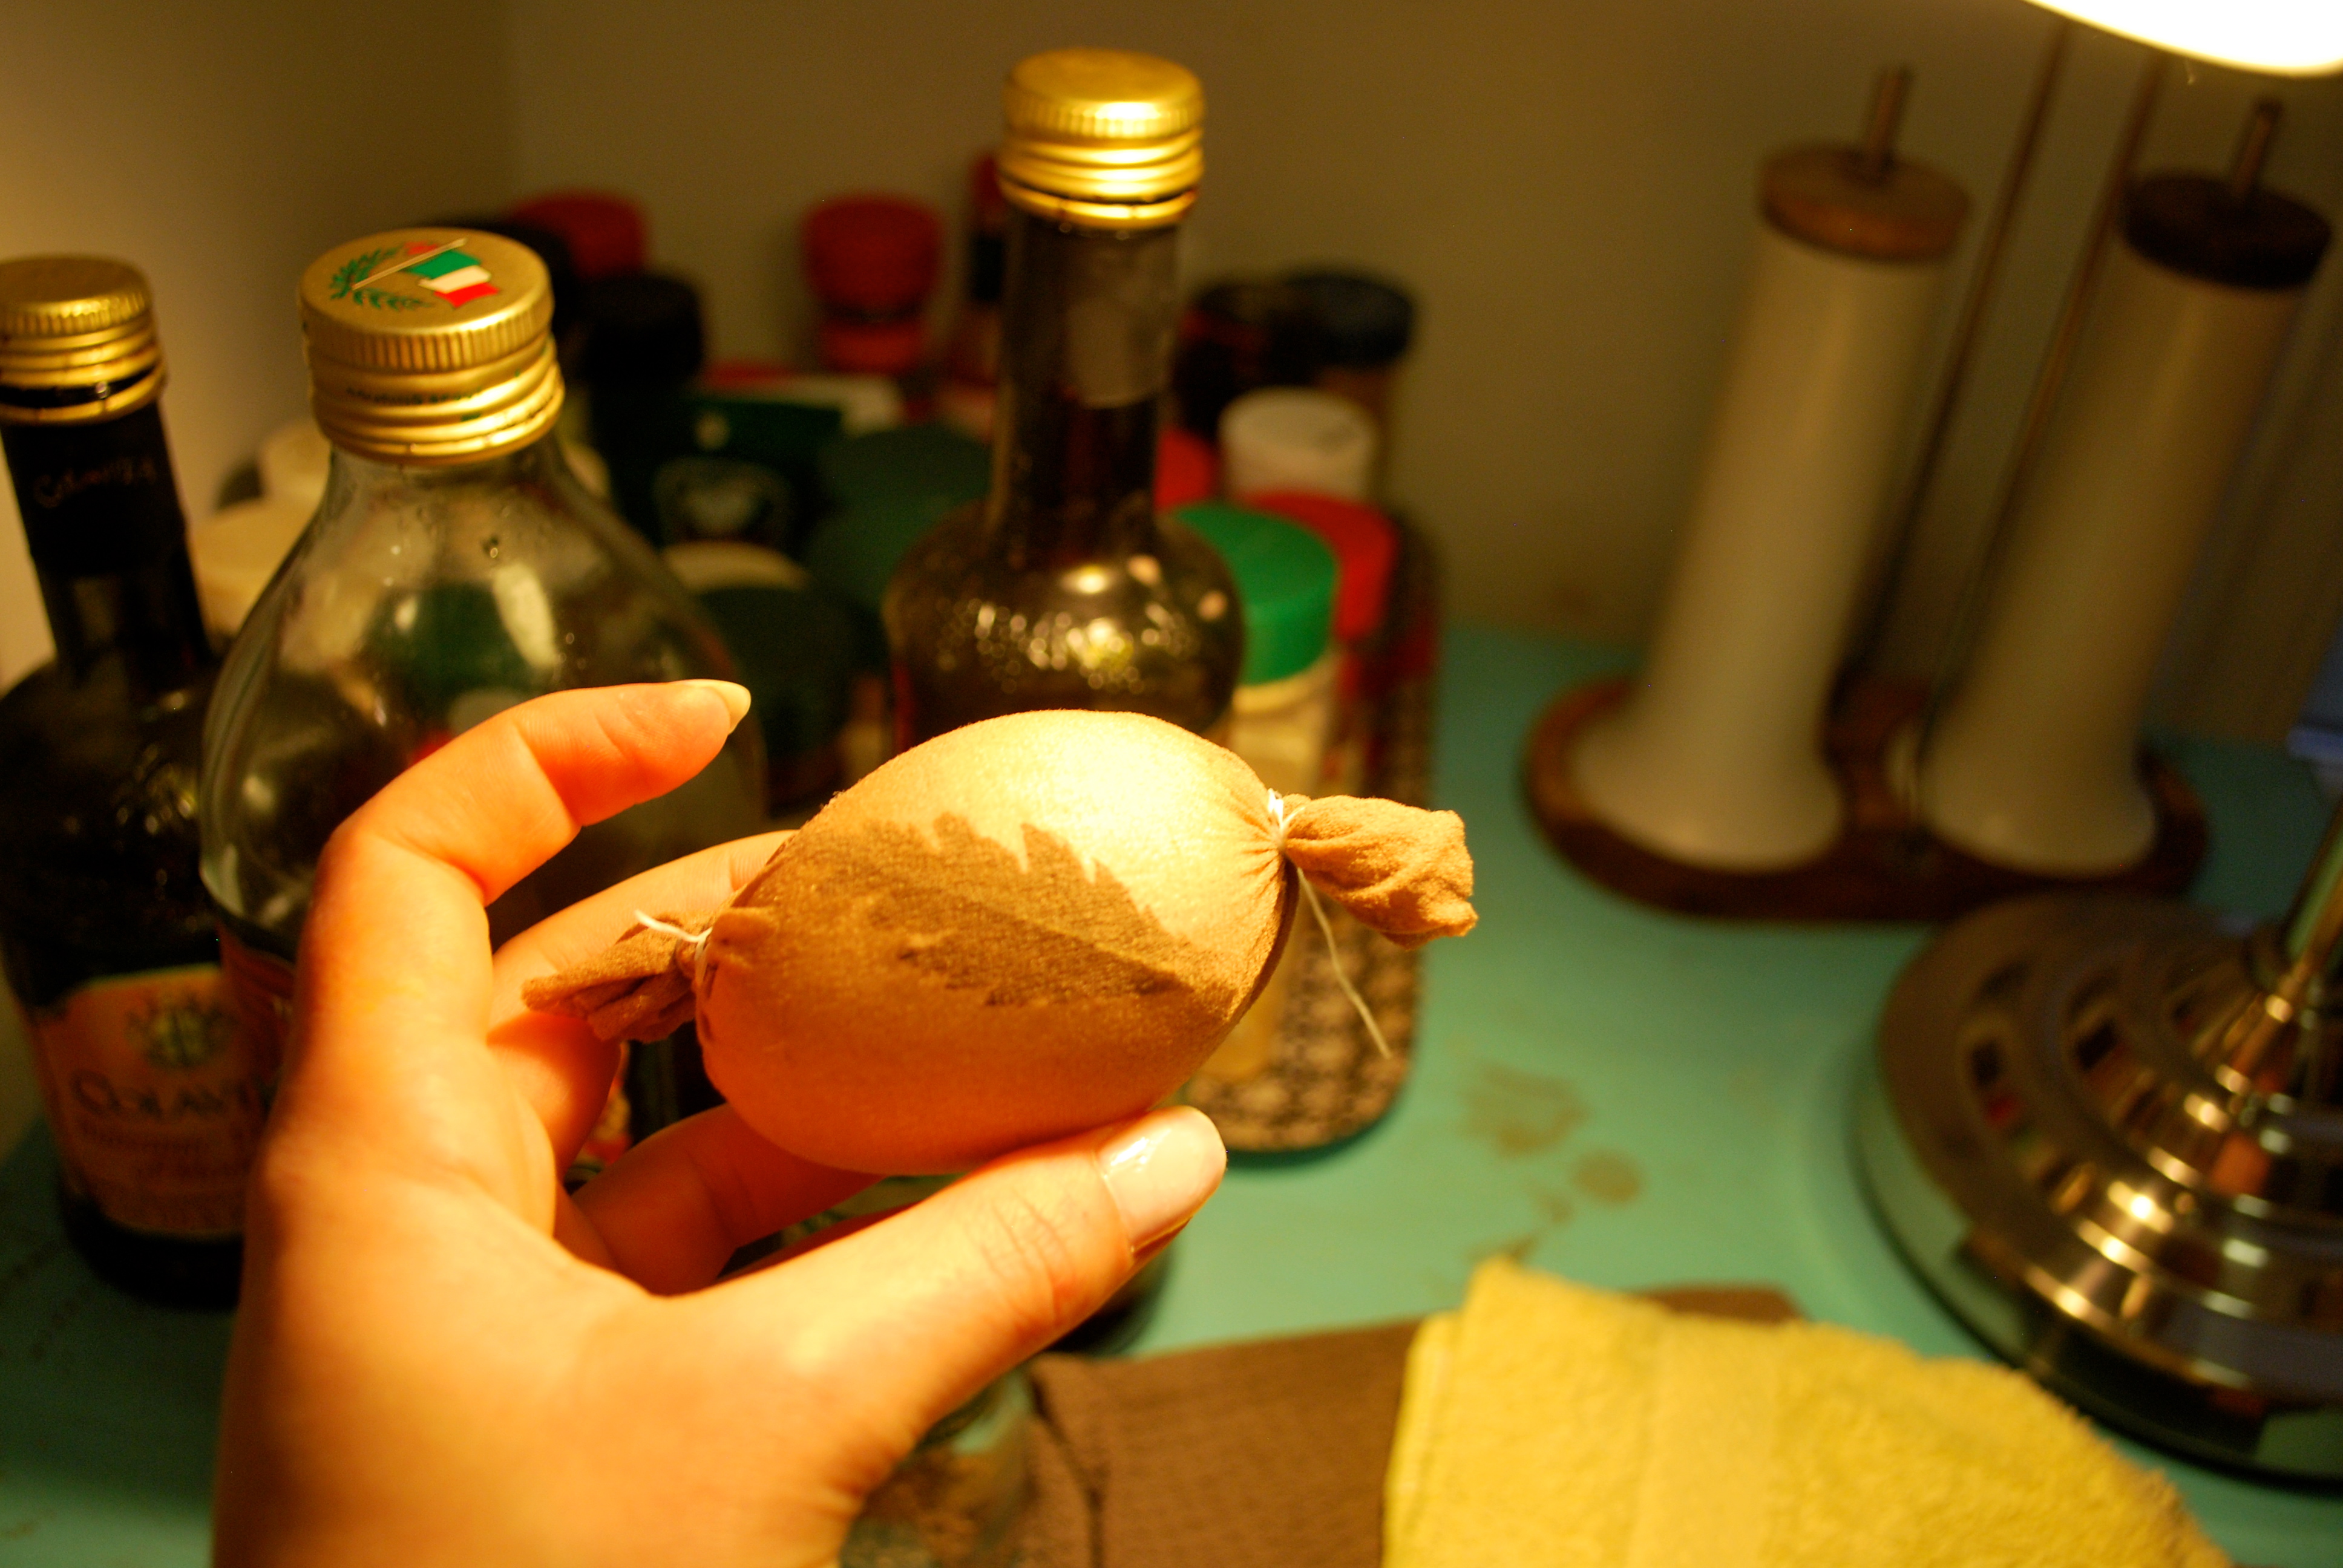
Tip: to prevent leaves and flowers from moving, place the nylon flat over the plant material, and then pull it around the rest of the egg. Alternatively, you can also try putting the egg in the nylon before adding plant decor. Tie off the loose end.
Now, boil the nylon-wrapped egg in one of your dyes for about 30 minutes. This will hard boil the egg and dye its shell. Note that eggs should be submerged.
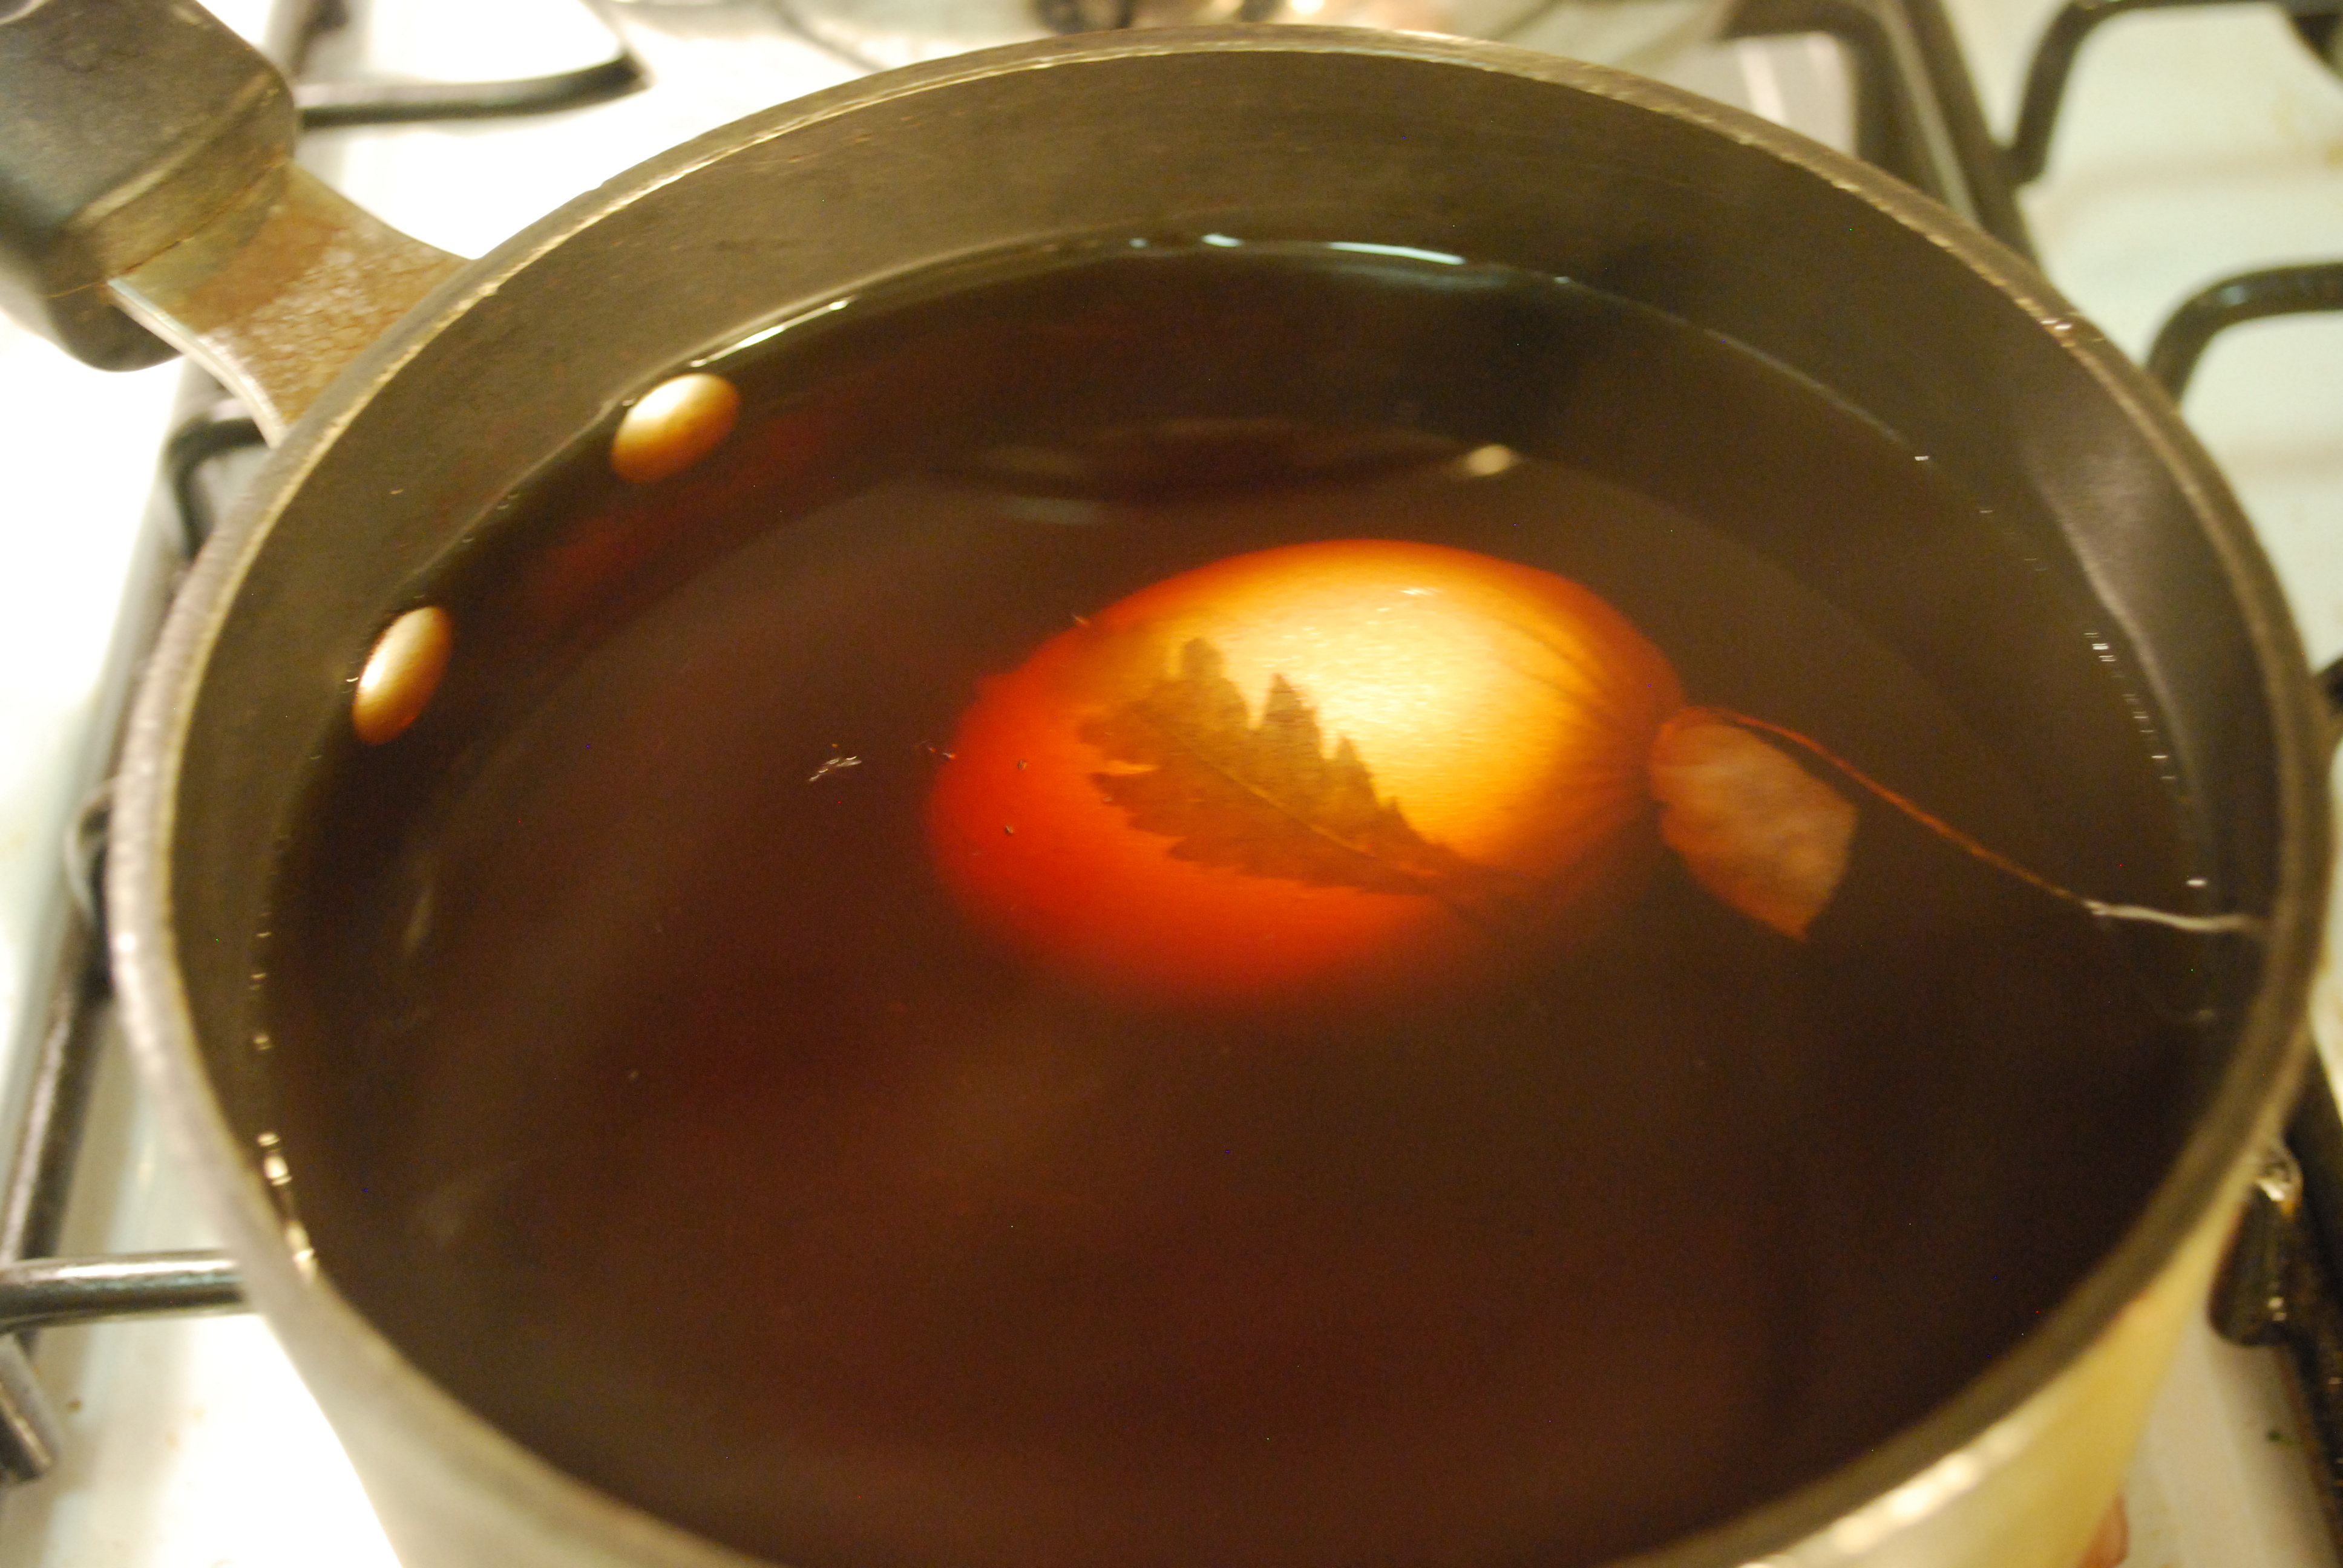
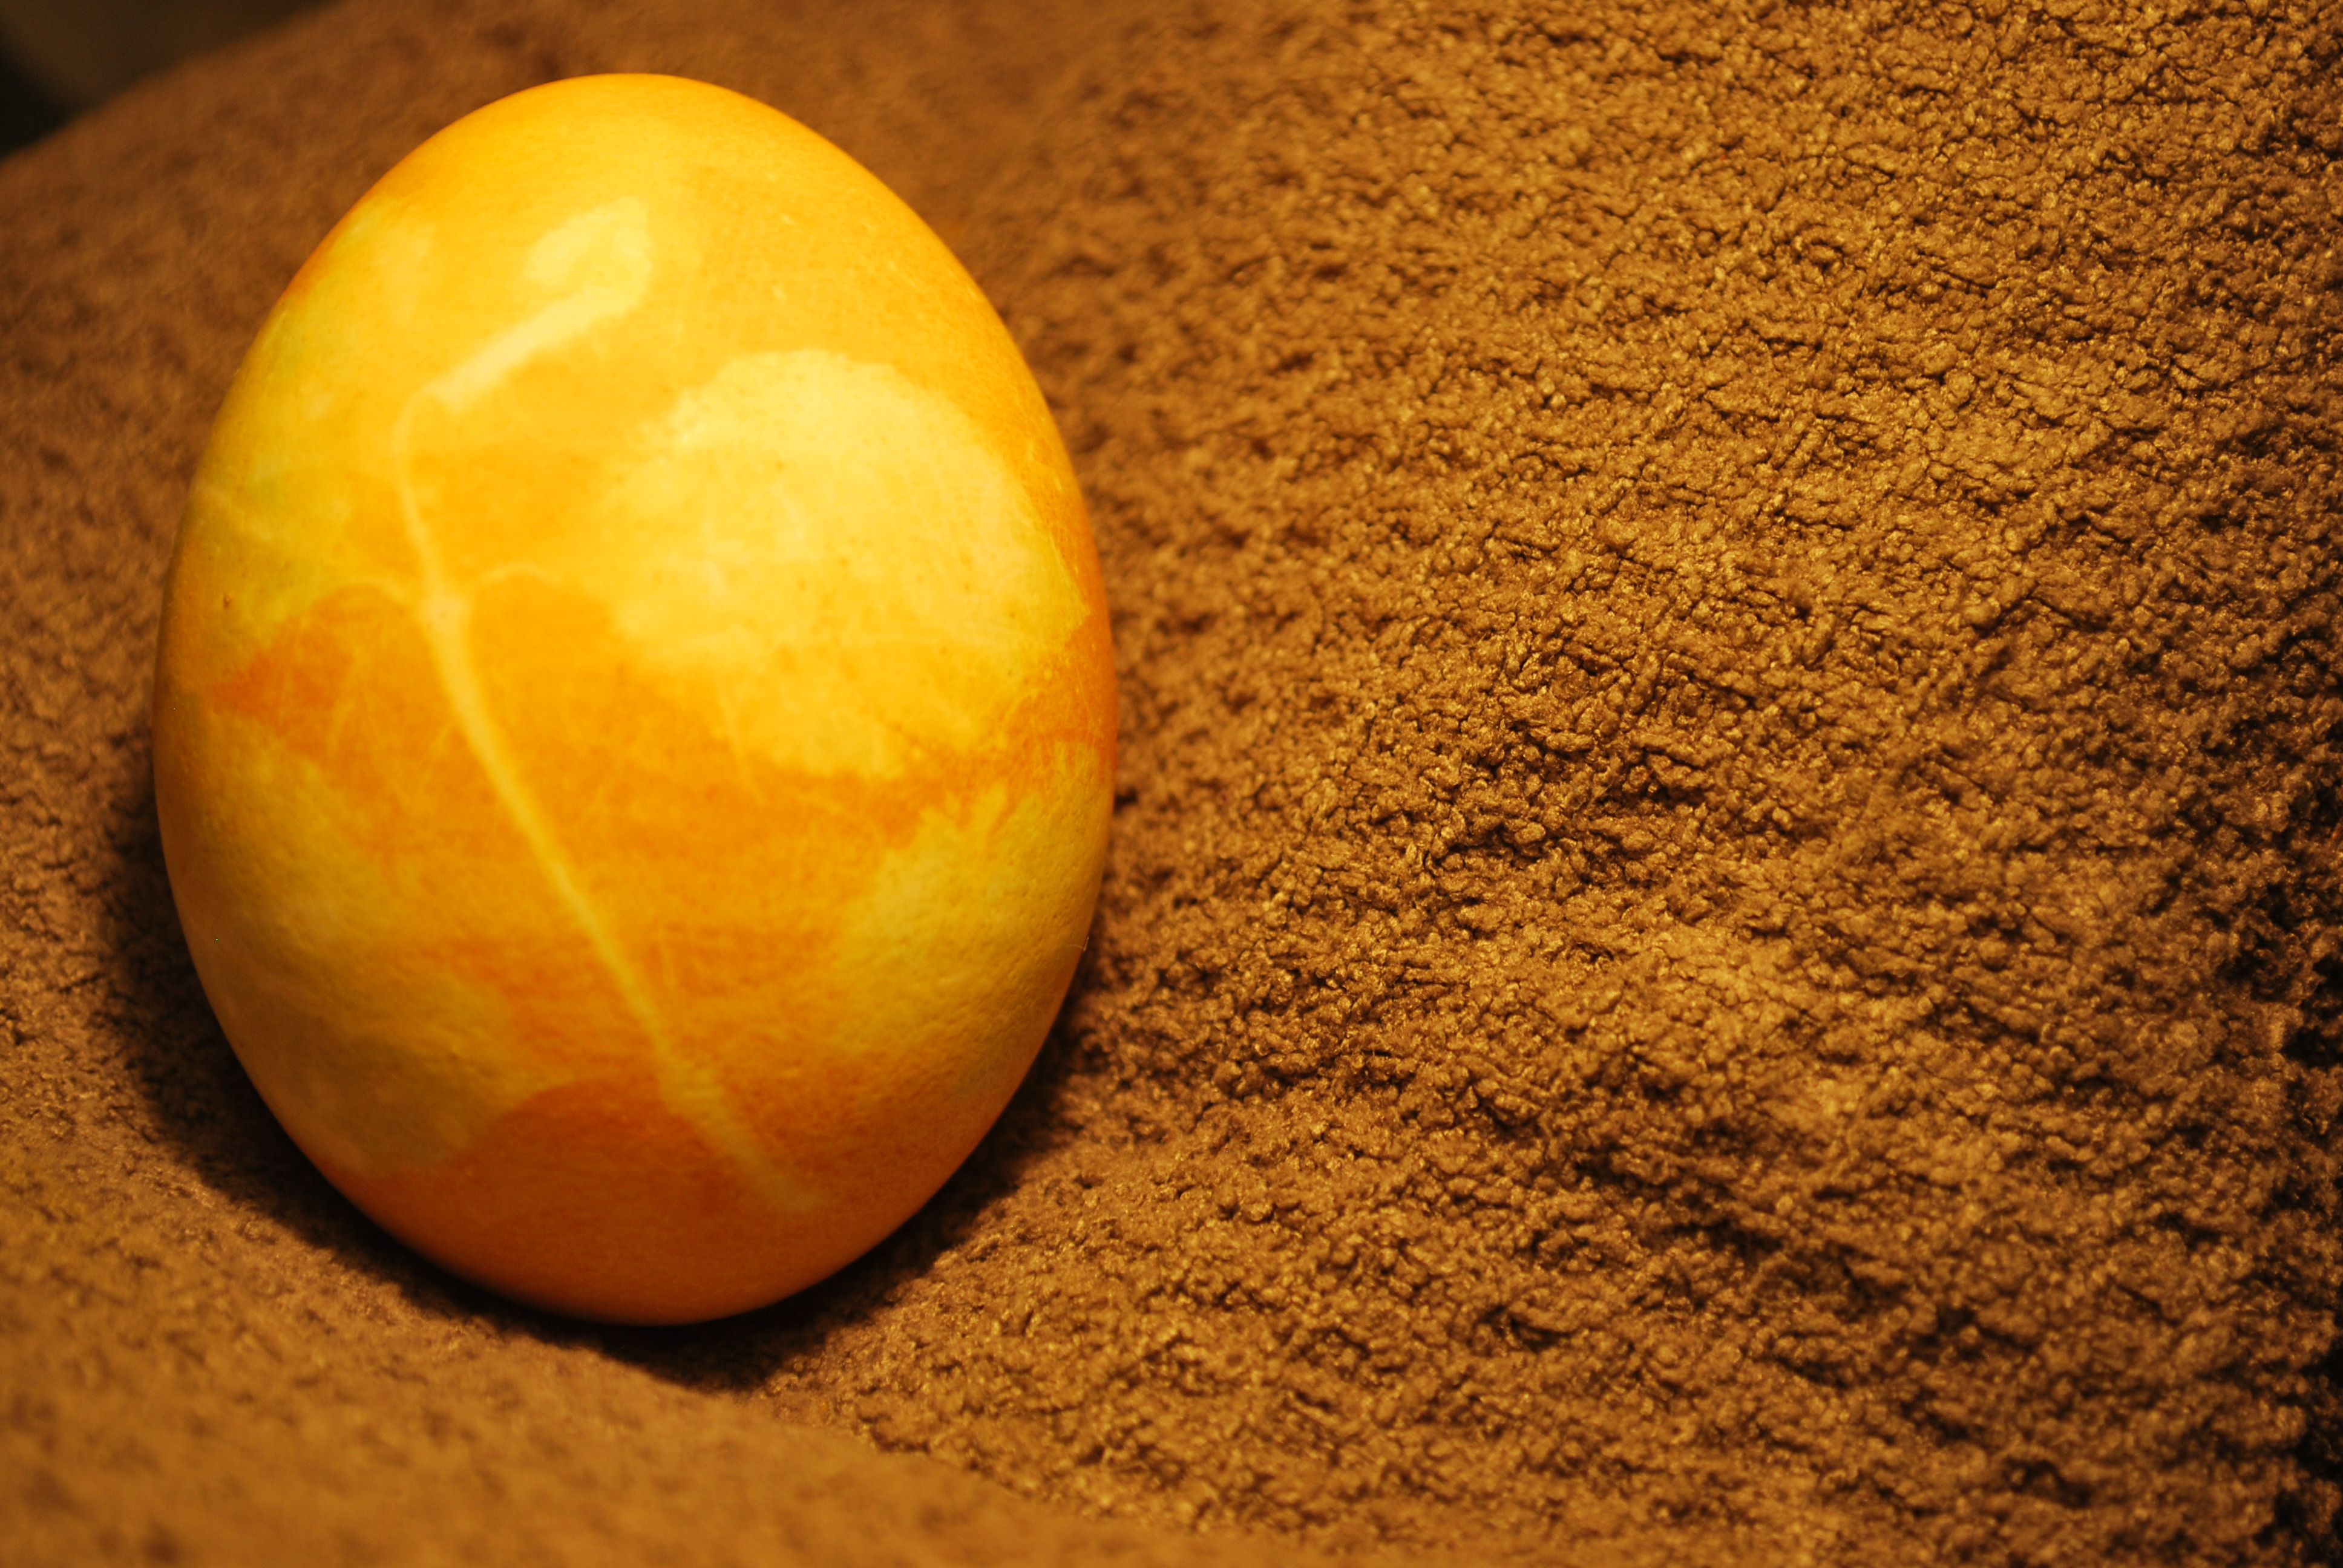
When the eggs are cooked, leave them soaking in the dye for as long as you like (the longer they soak, the deeper their hue). Note that this will only dye the egg's shell, not the albumen inside.
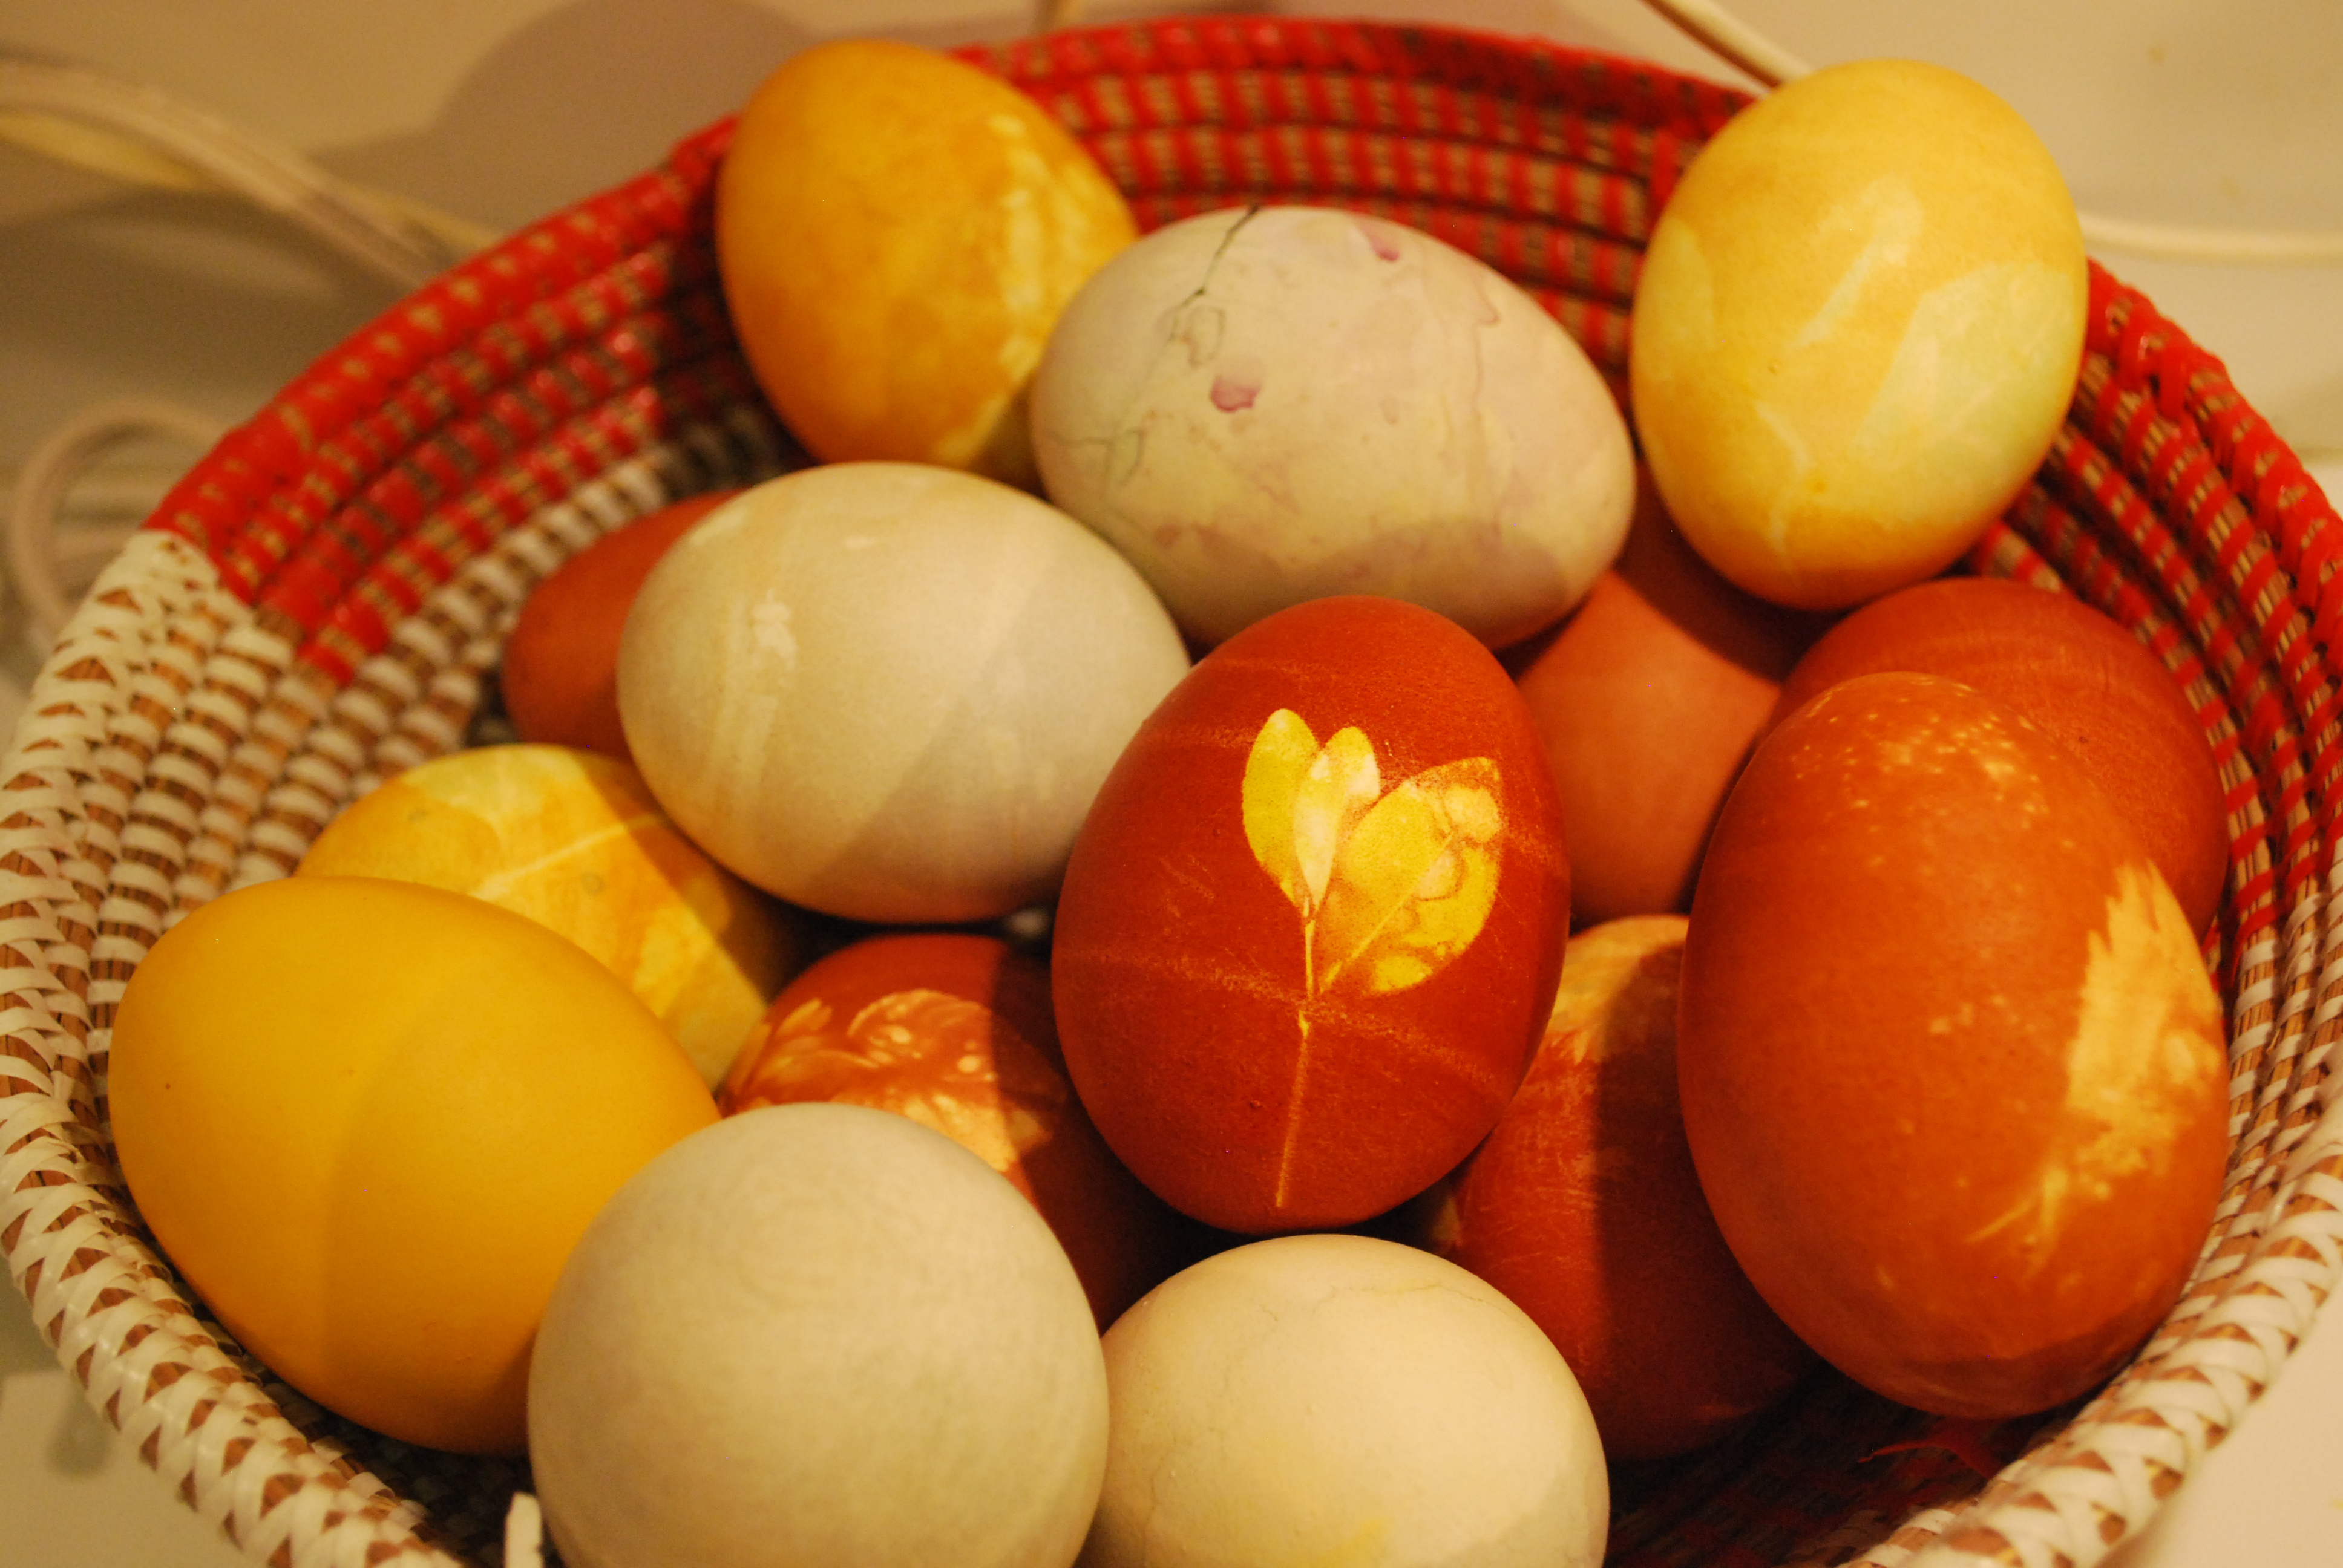
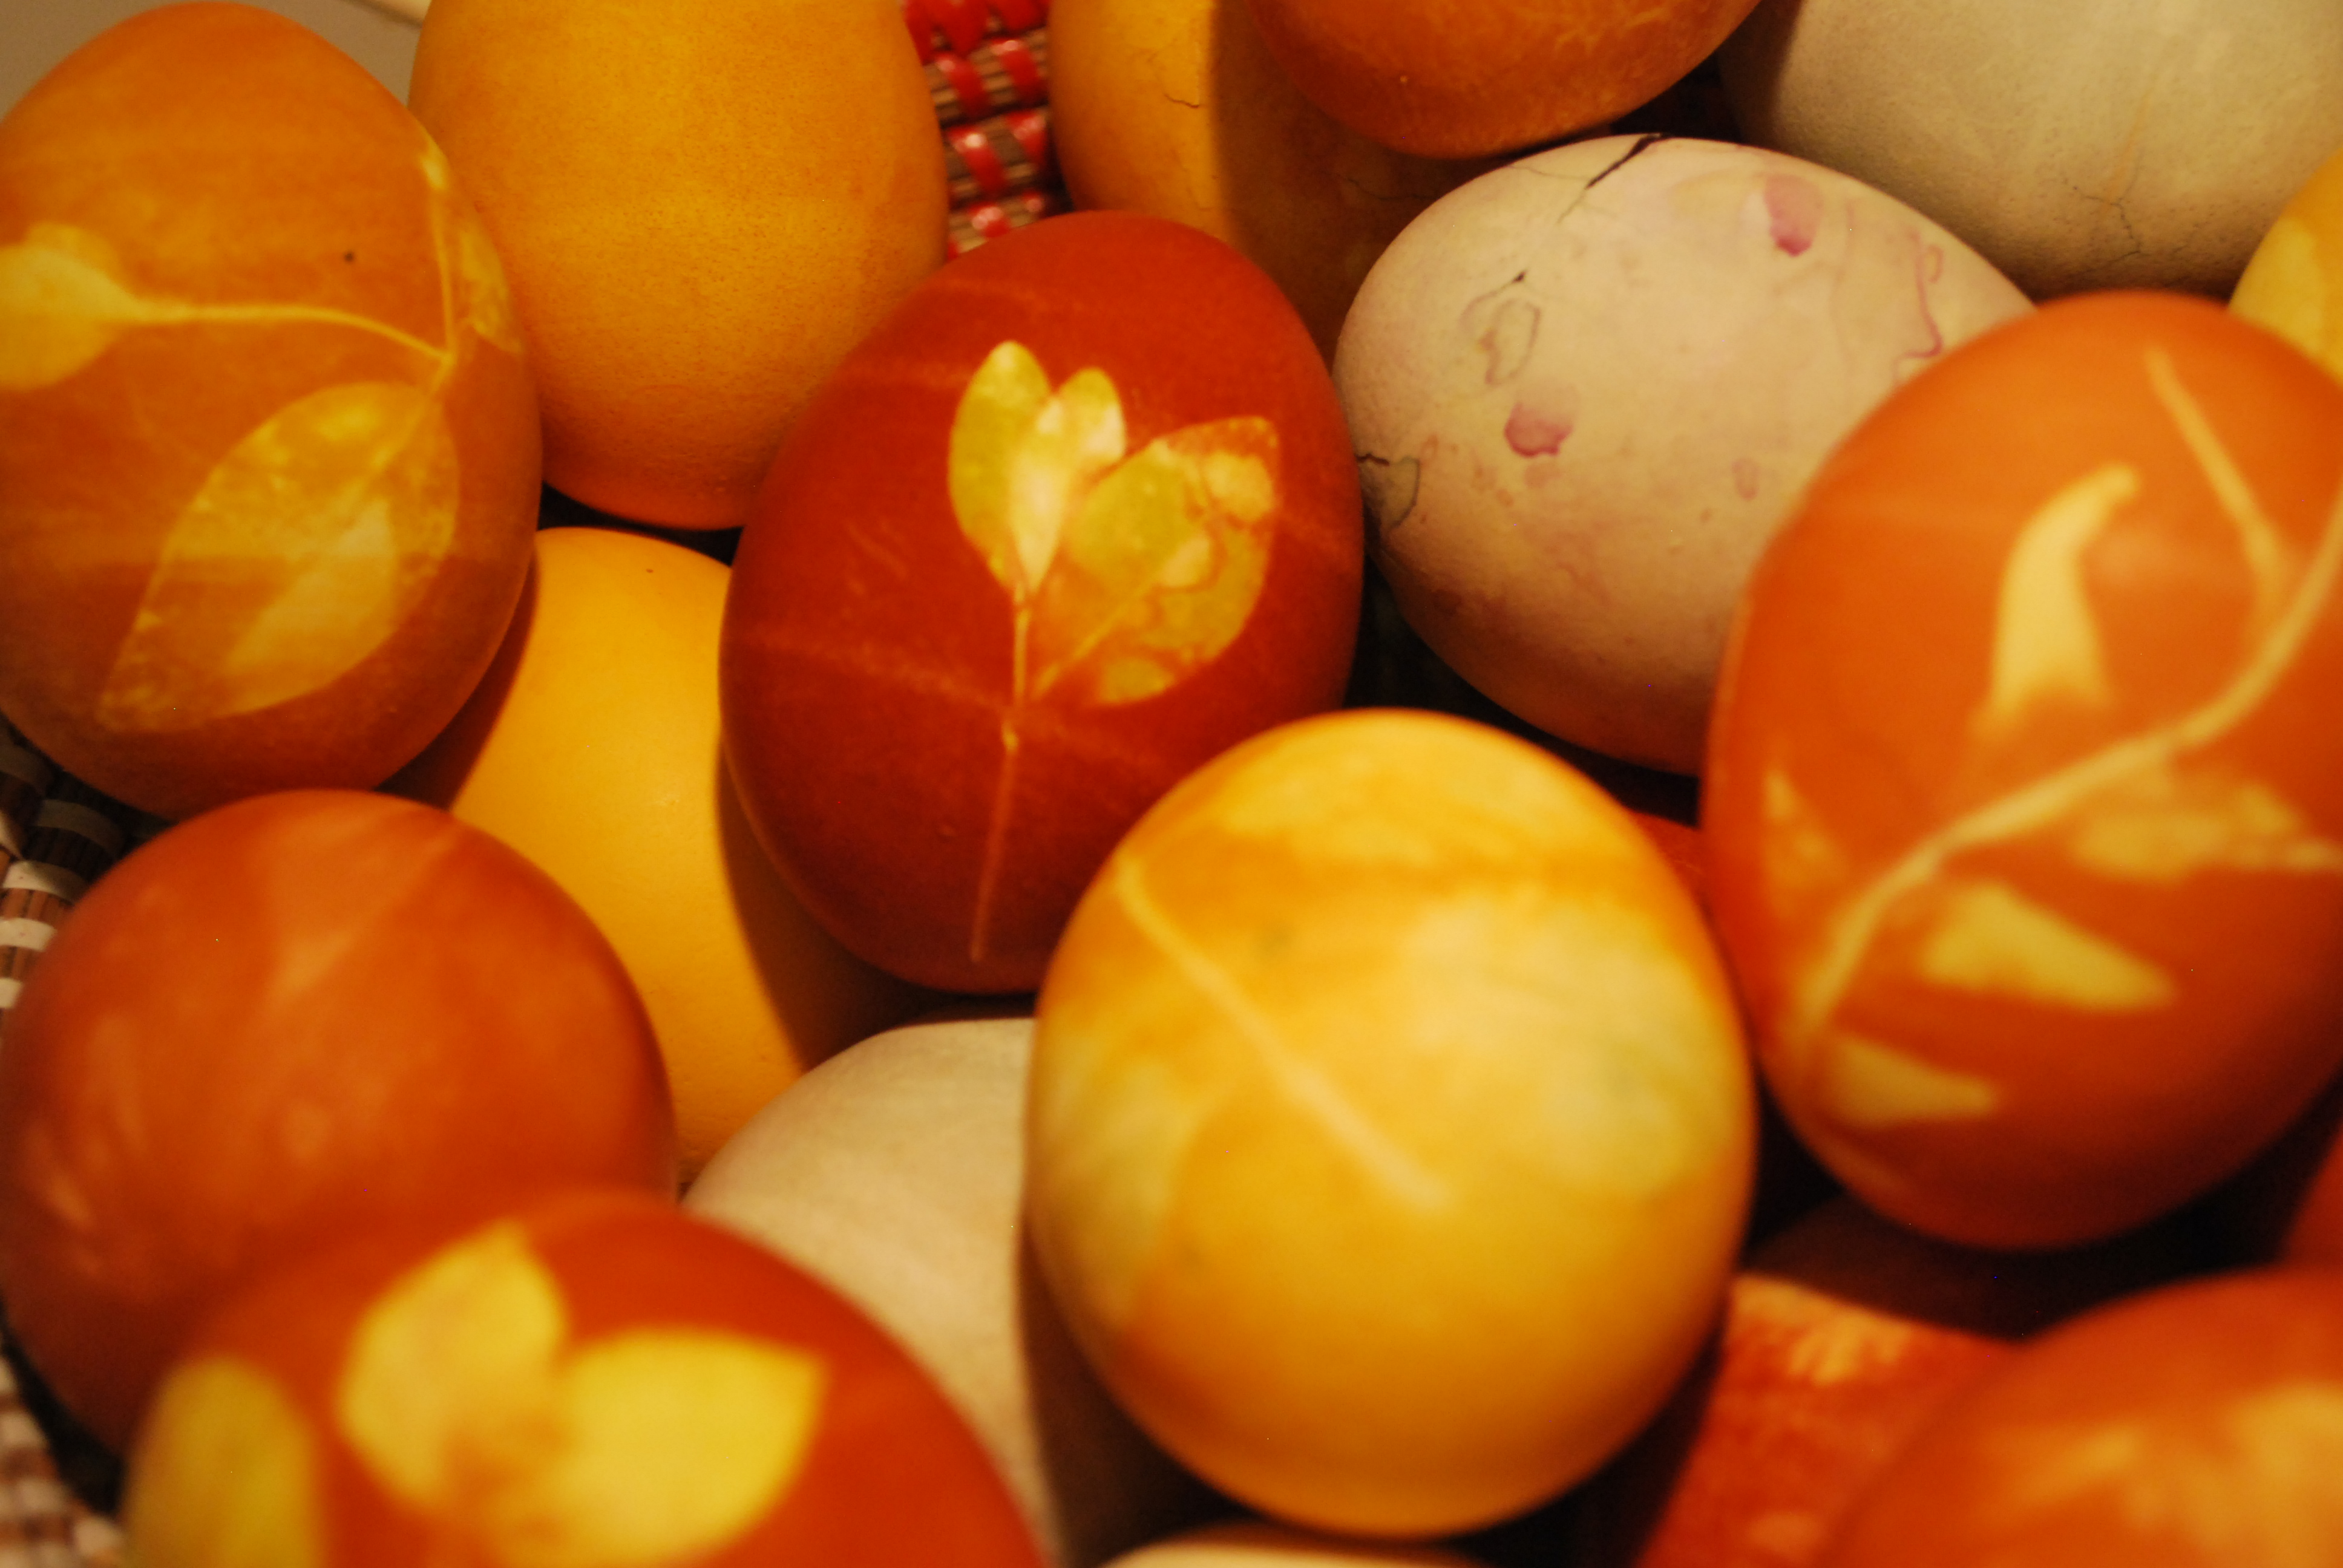
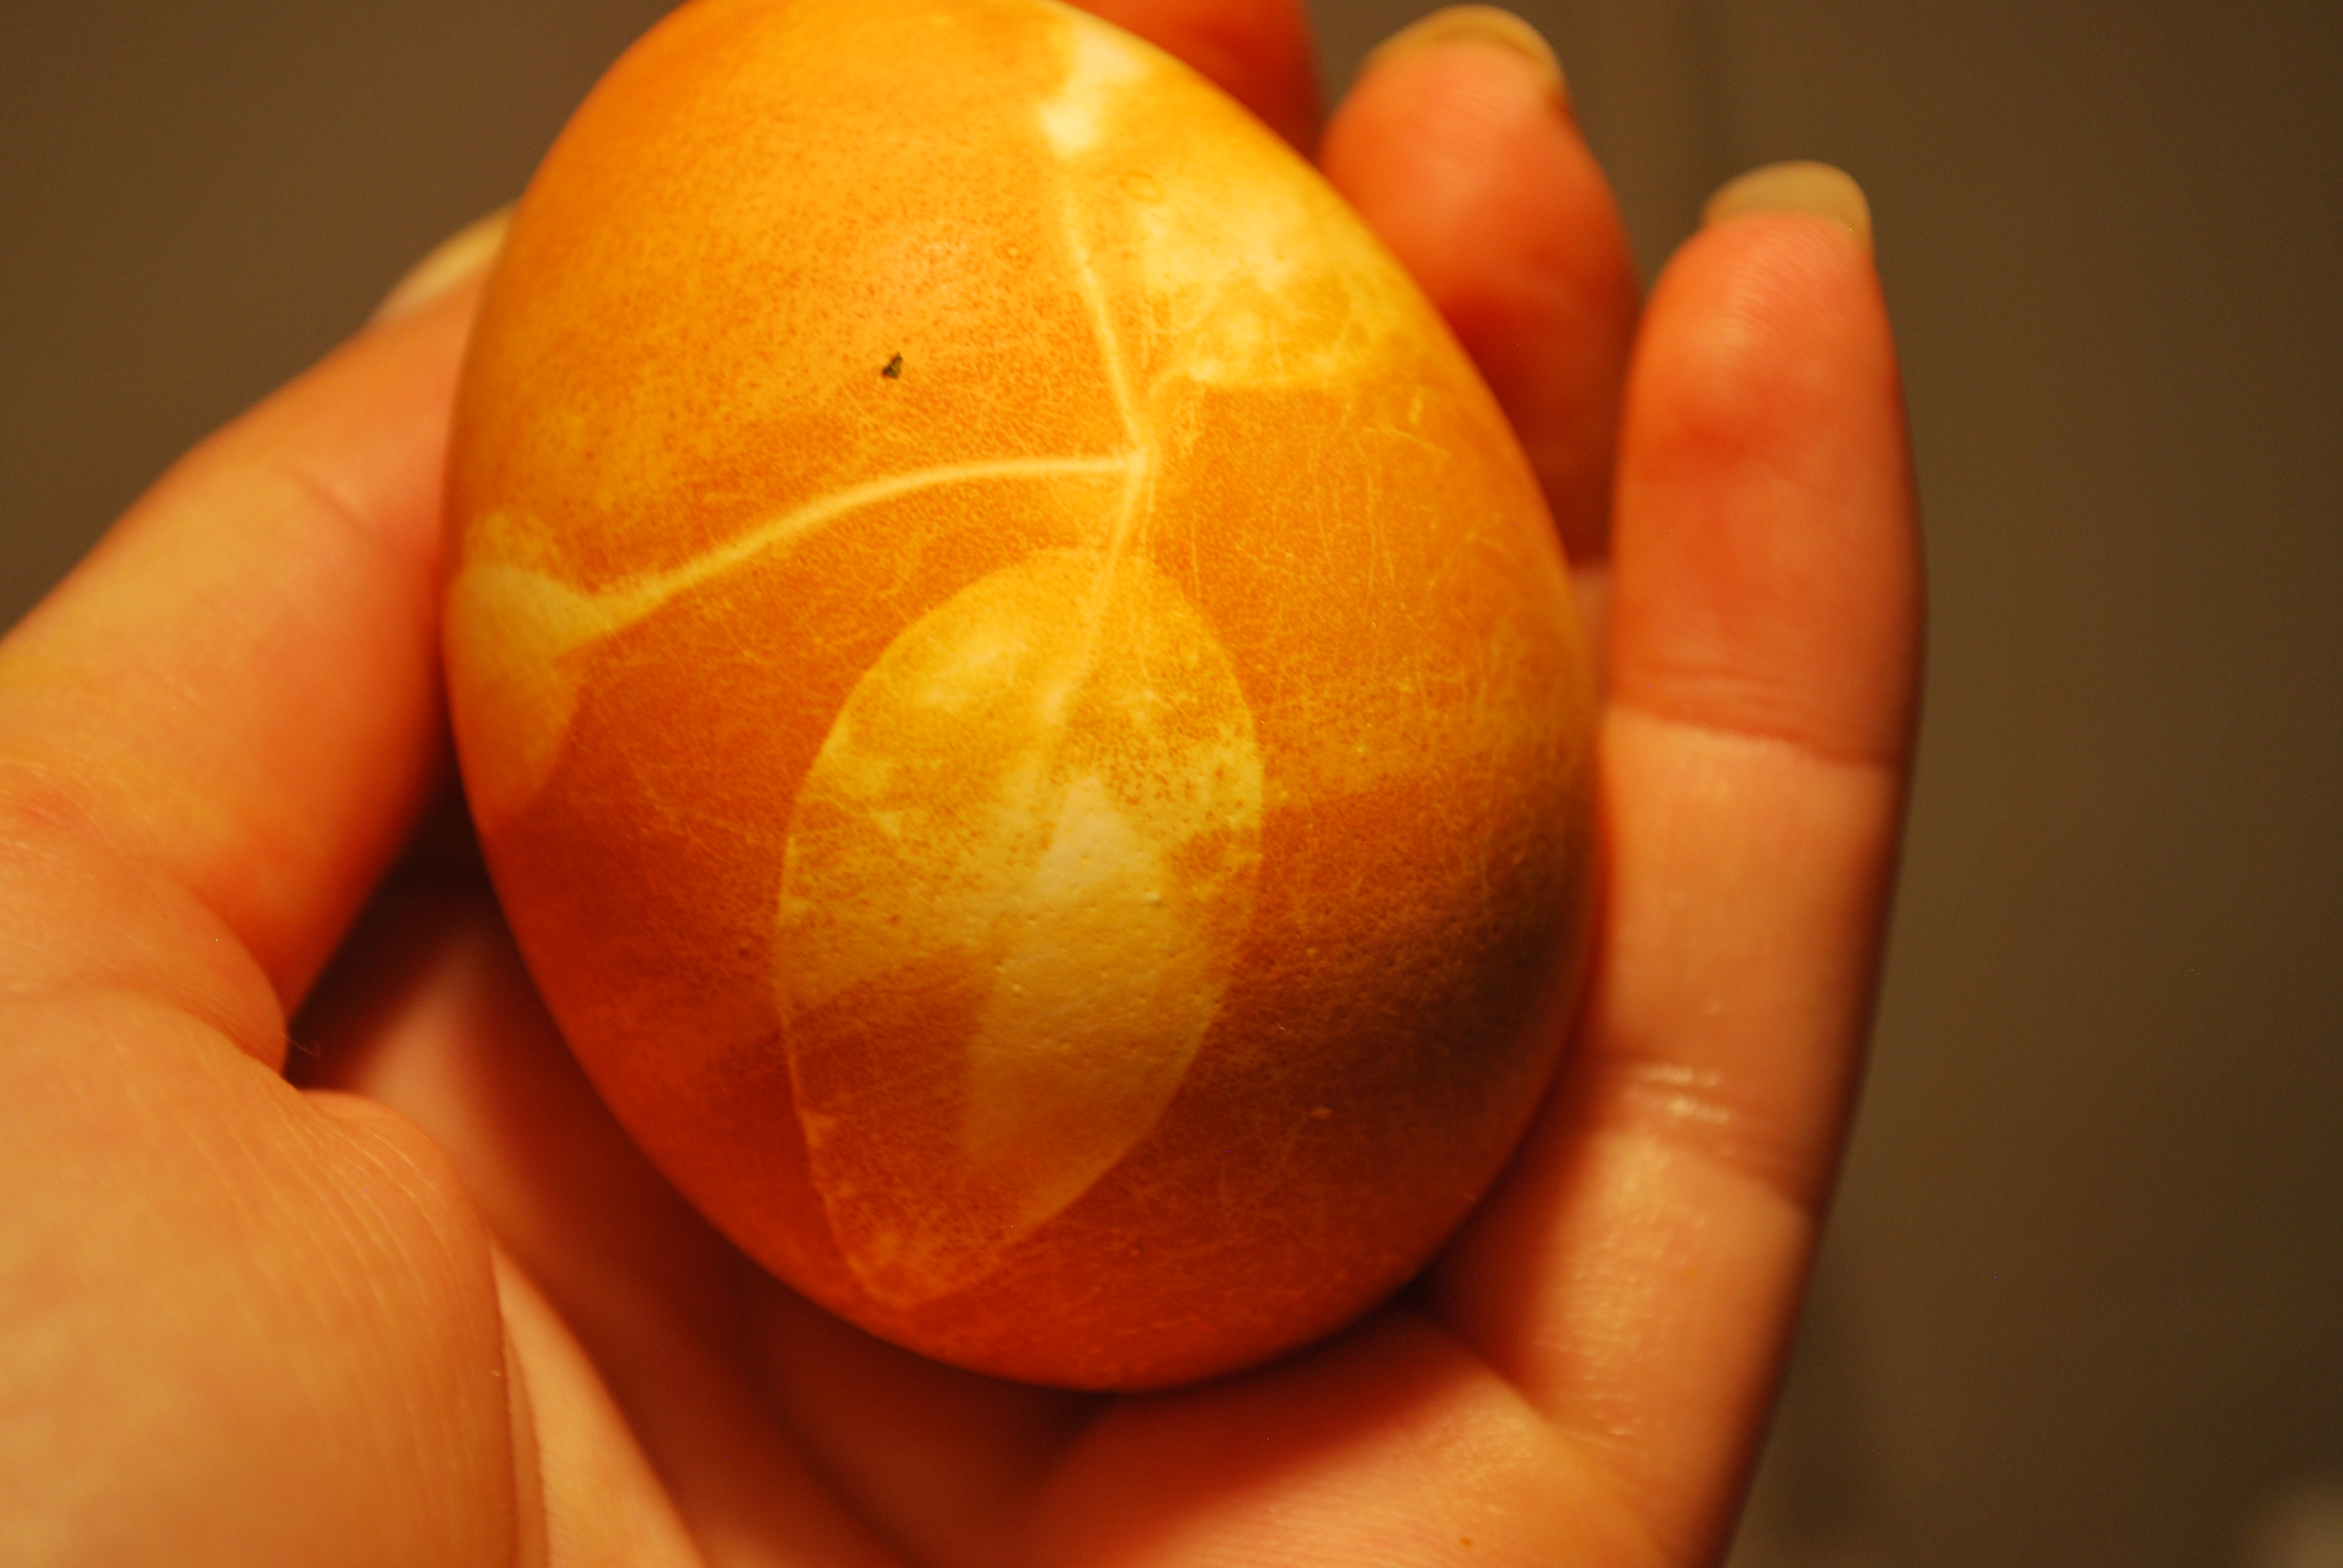
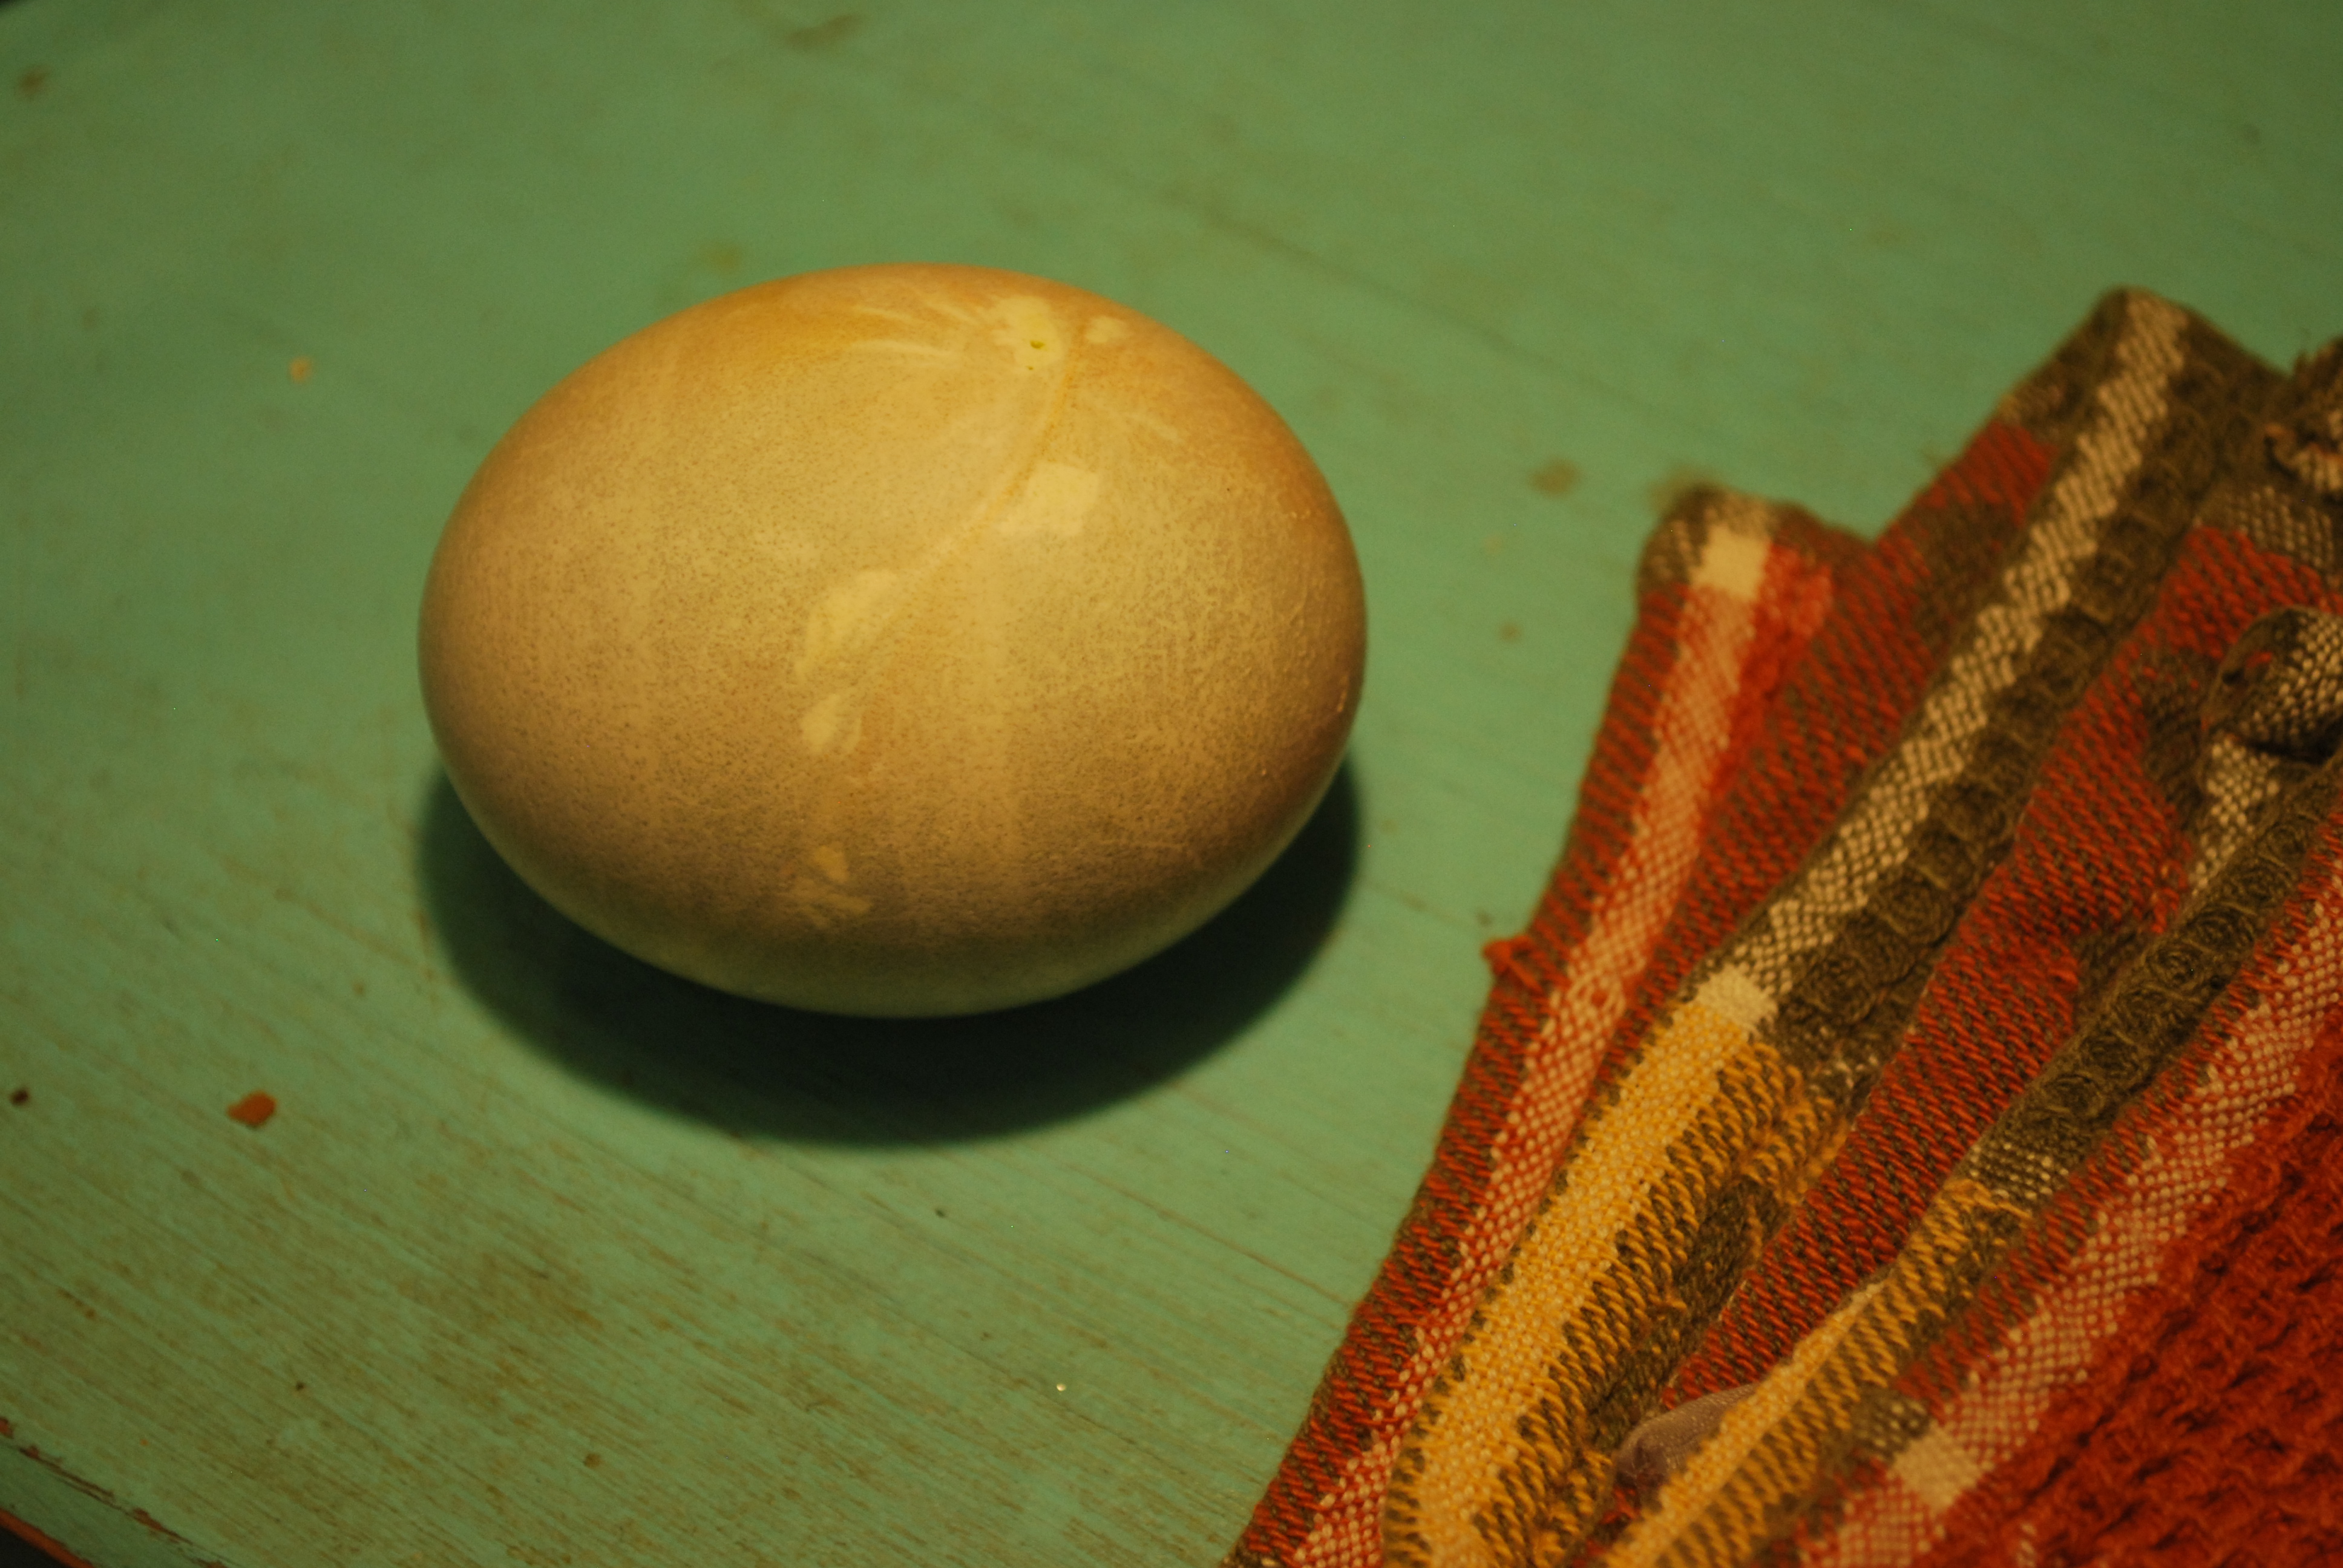
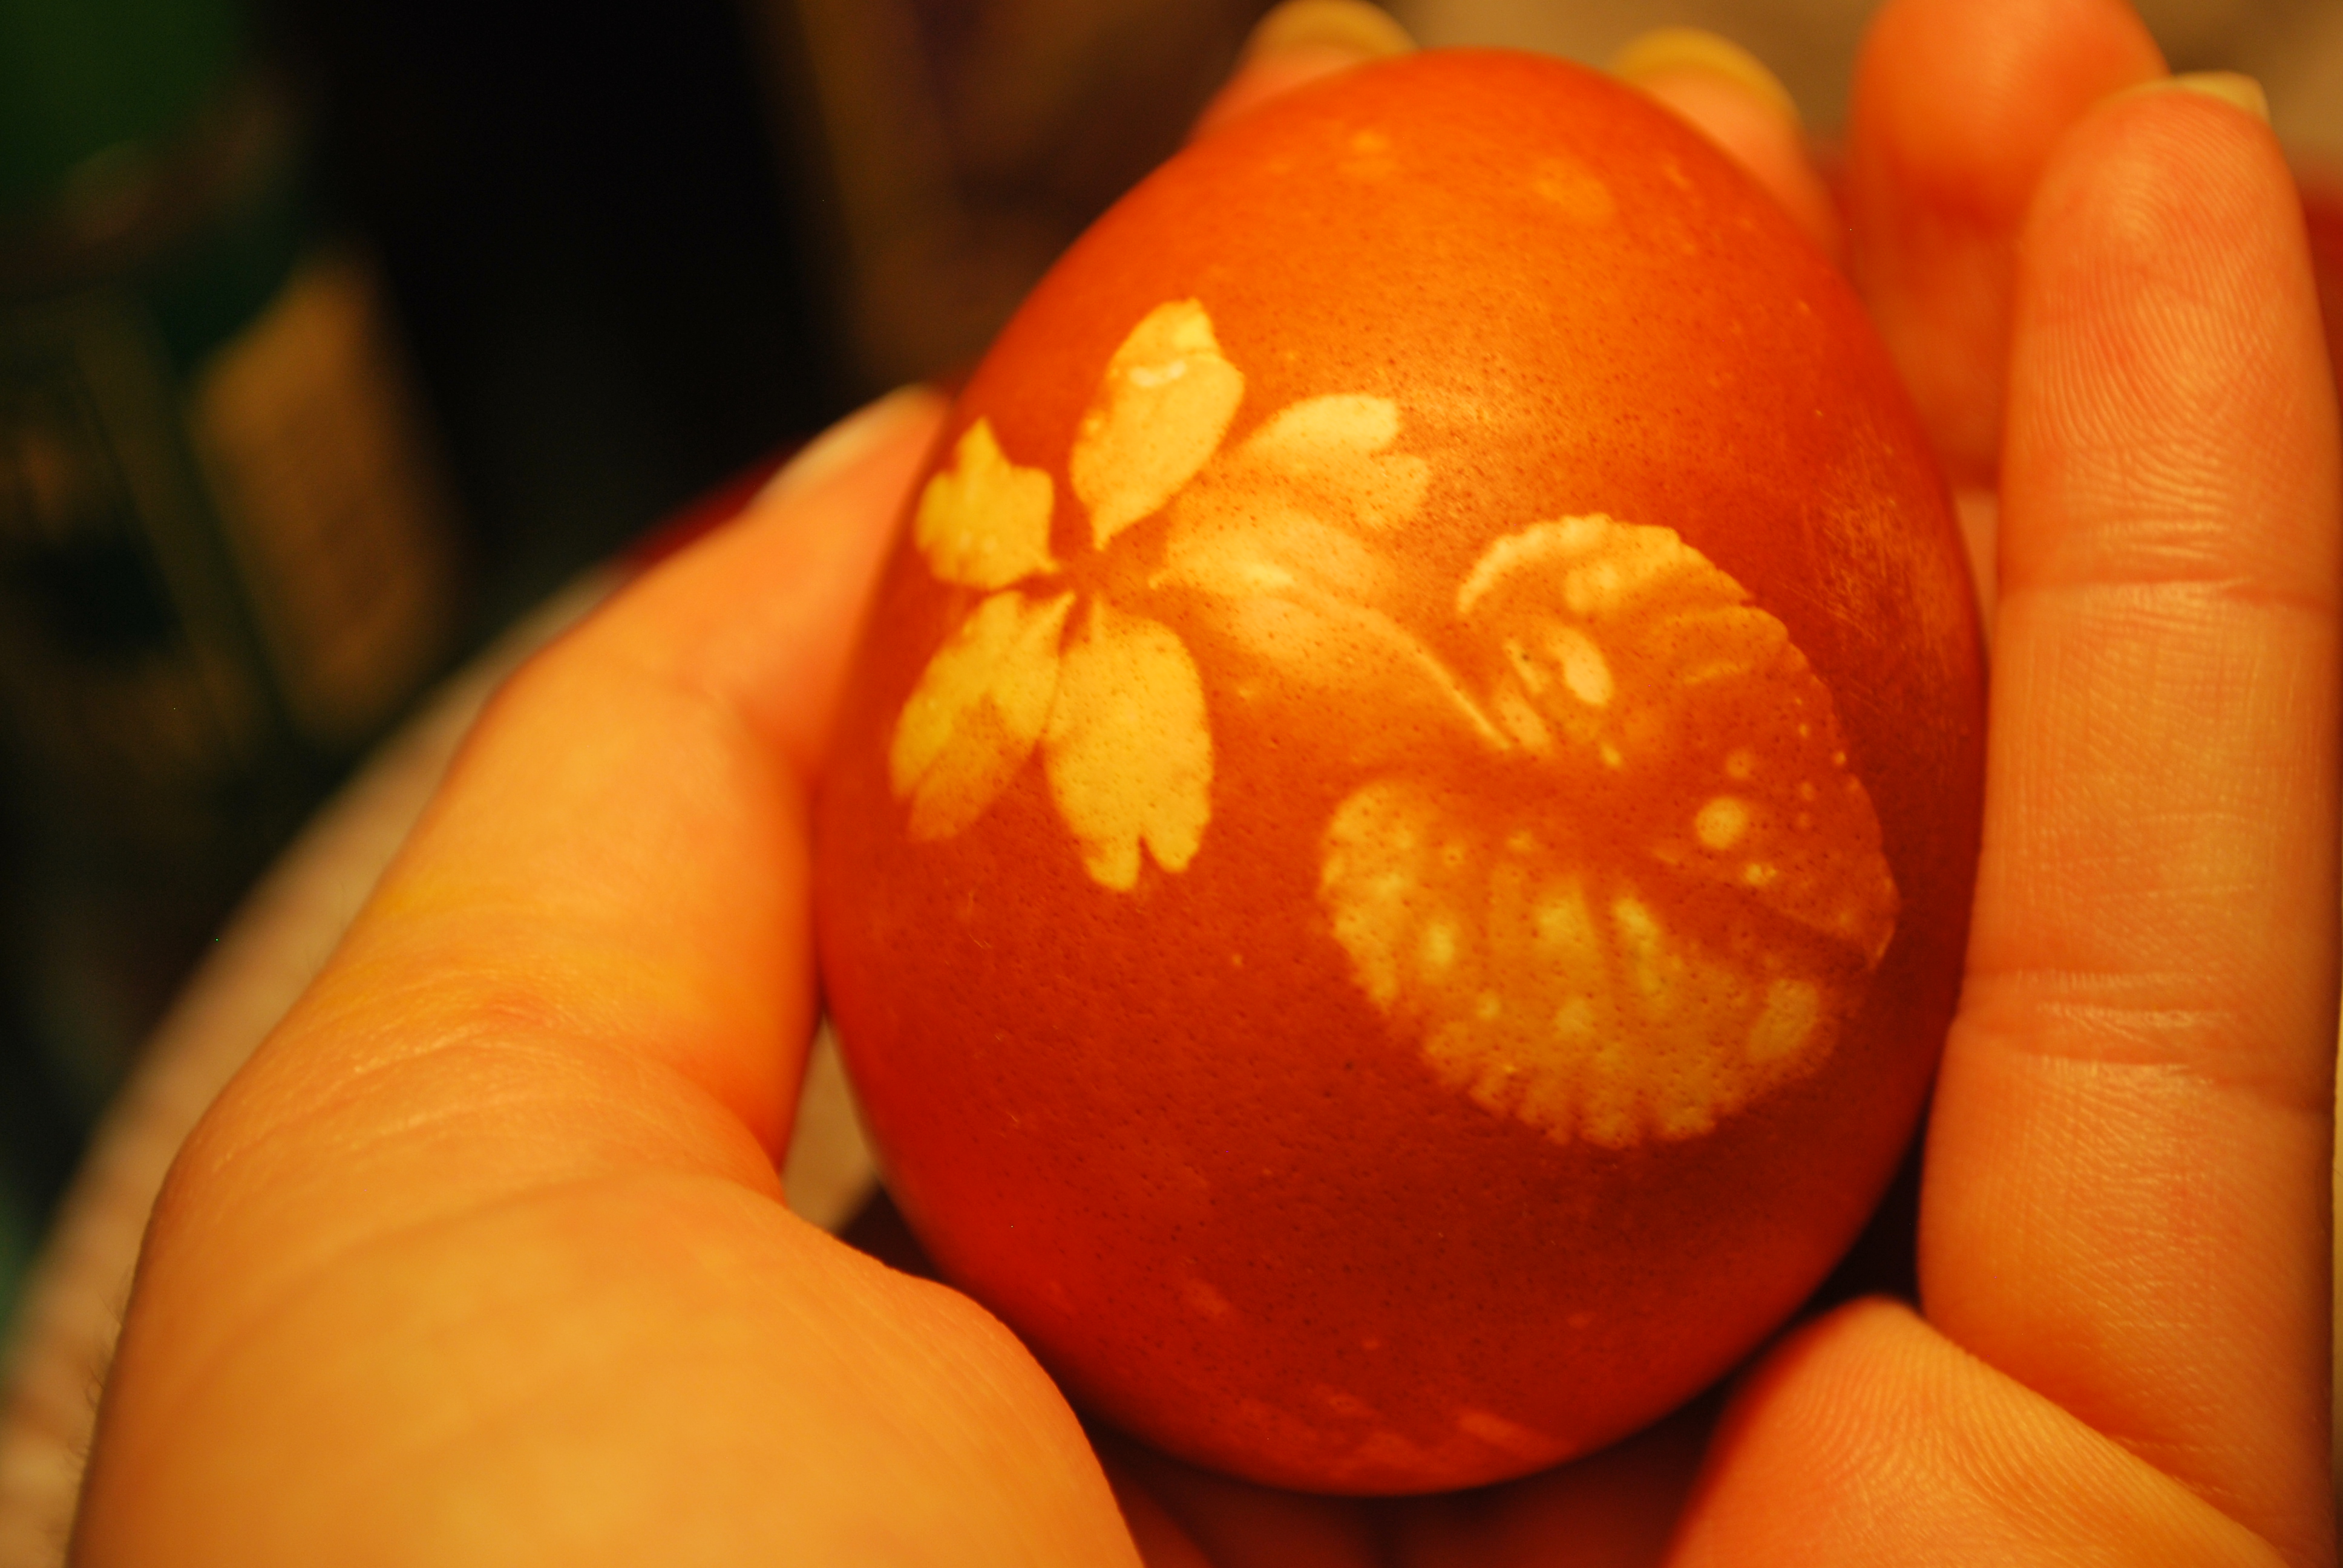
When you're ready, cut off the nylon and see what you've created!
And, lastly, face the cleanup. Happy Easter!

De light full Easter Egg project!!!!!
ReplyDelete